Now we’ll make our way to the final area of the Aurora: The Blackbox Room and the Lab.
This guide is part of our series “Subnautica: Exploring the Aurora.”
Finding the Black Box Room
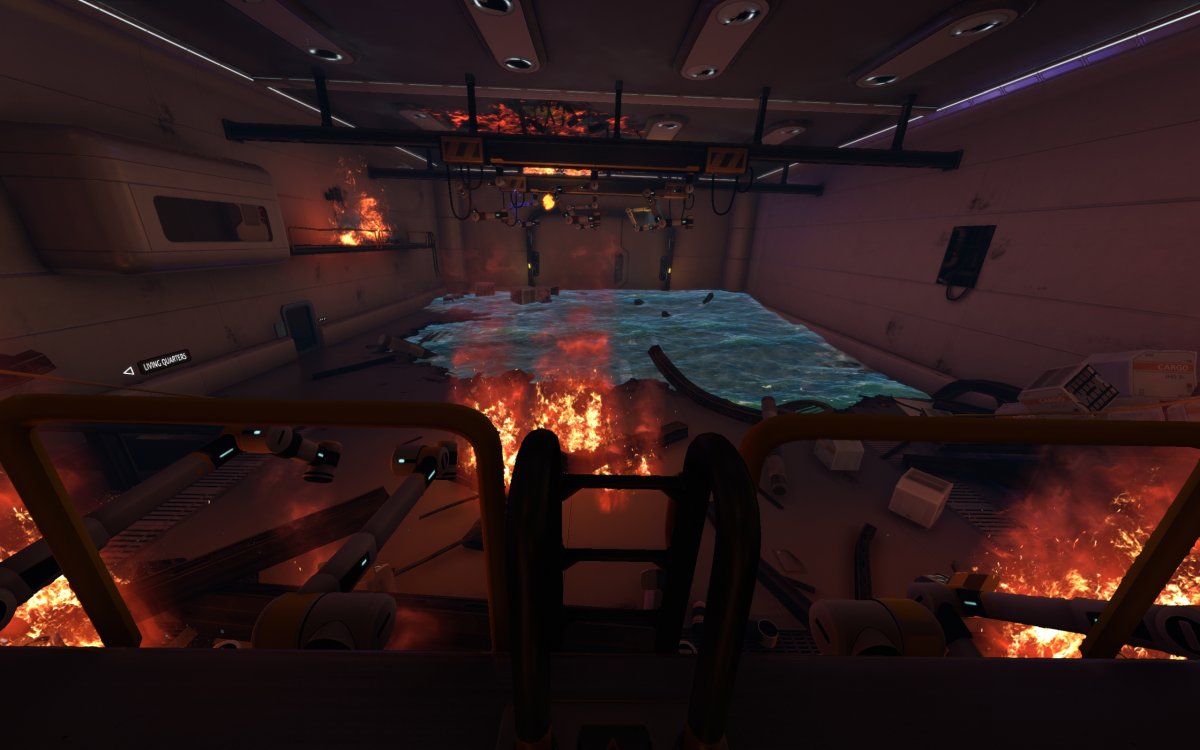
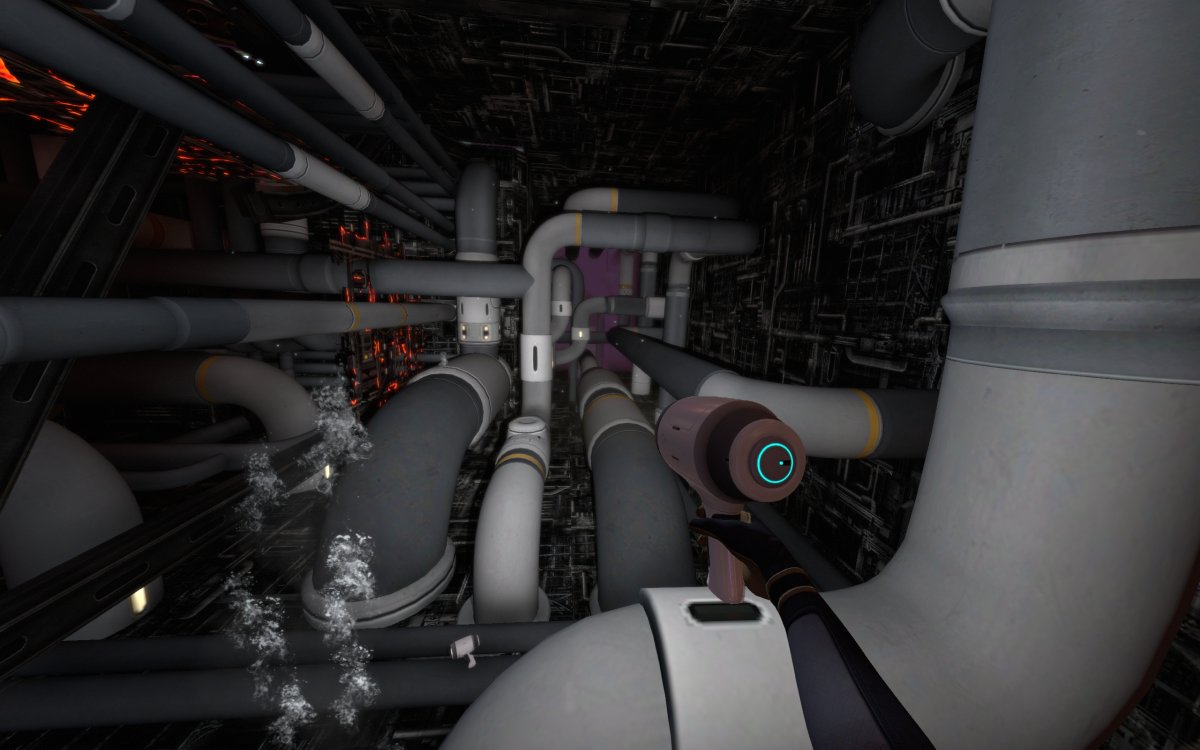
Starting from the Living Quarters, head back to the Prawn Bay.
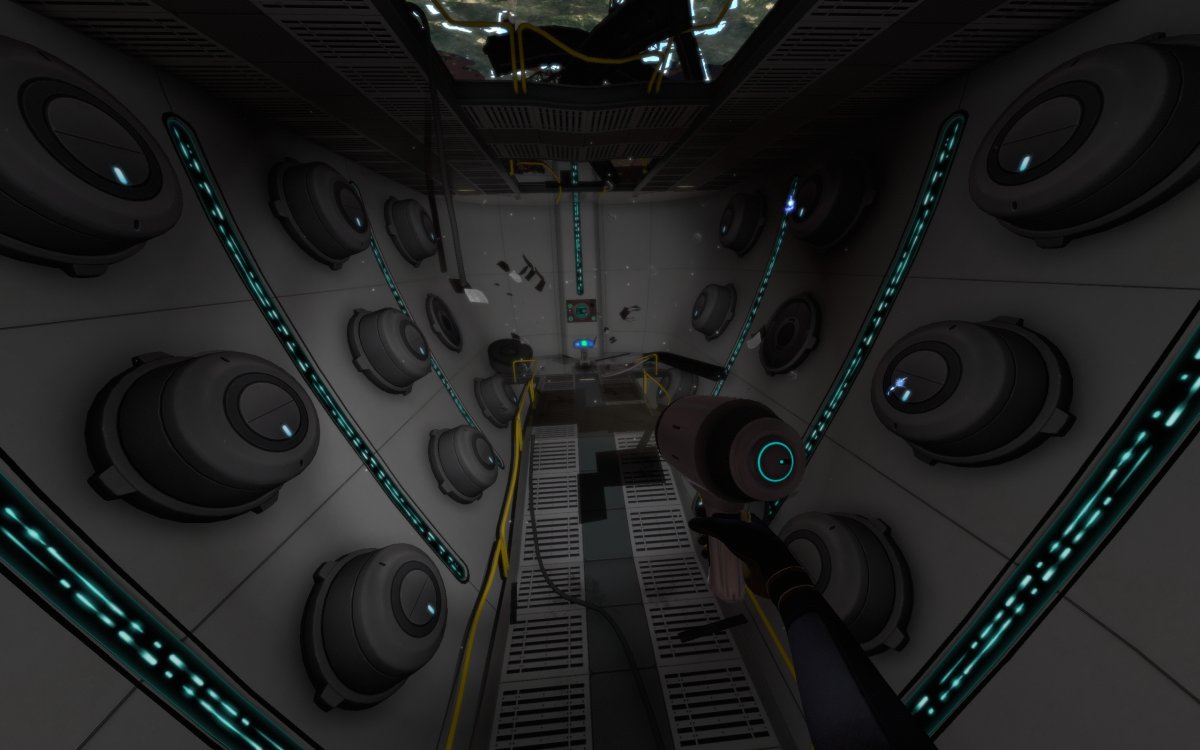
Make your way down to the pool of water in the Prawn Bay, and walk out on this metal beam.
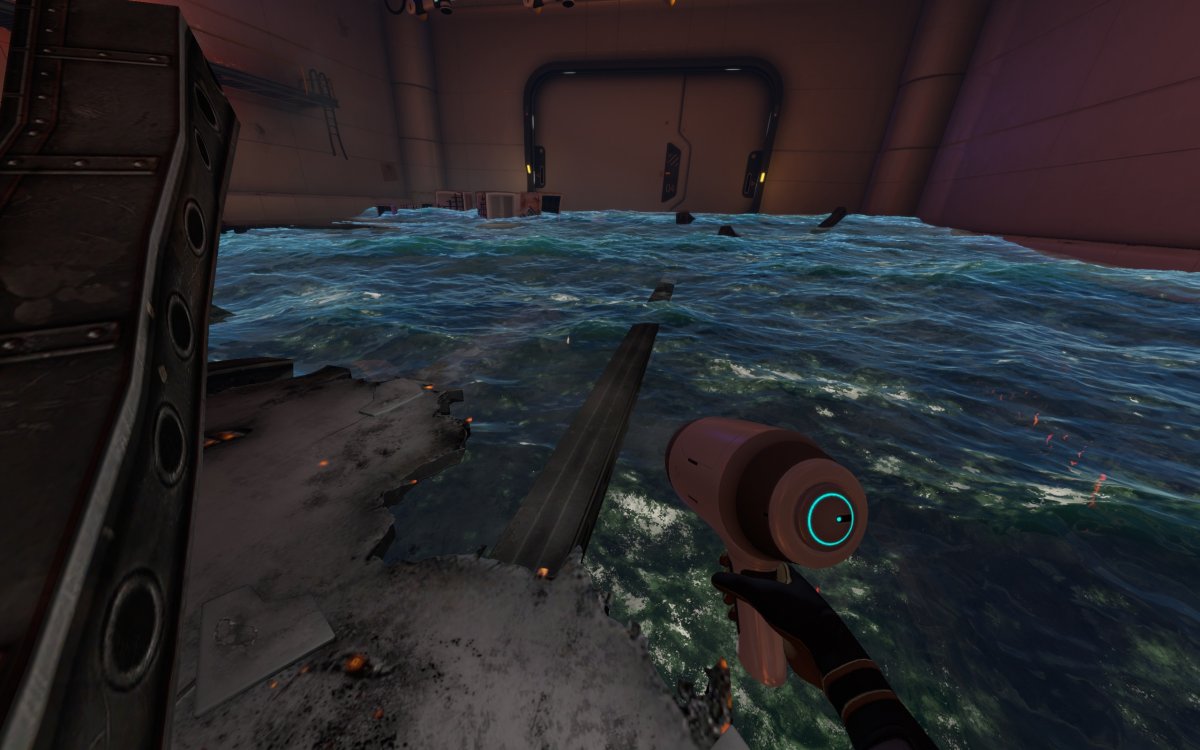
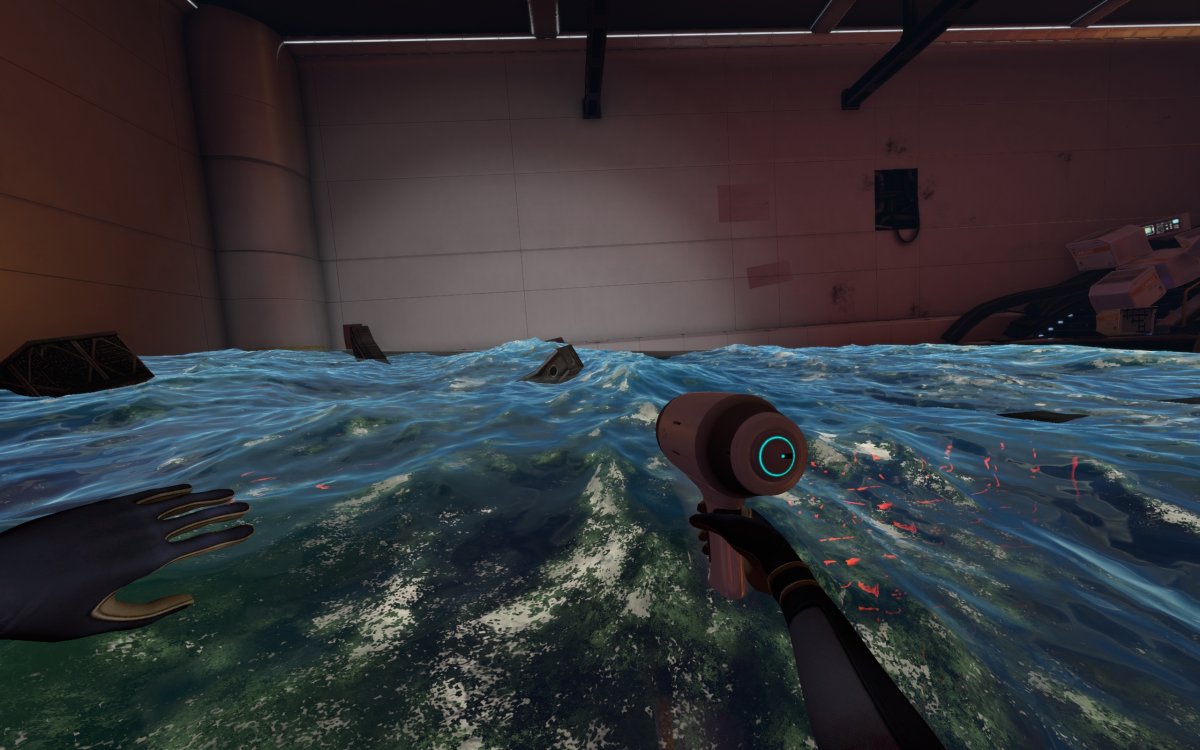
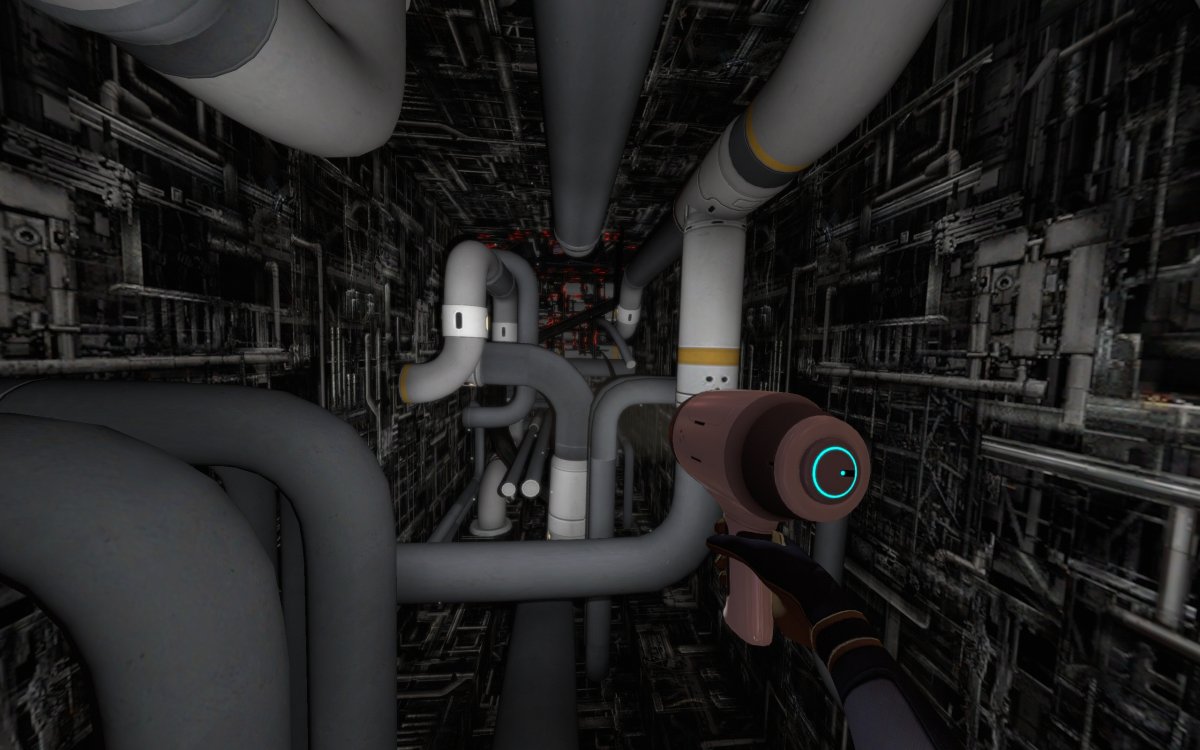
About halfway to the far wall, turn right and look underwater for the tunnel to the Black Box Room.
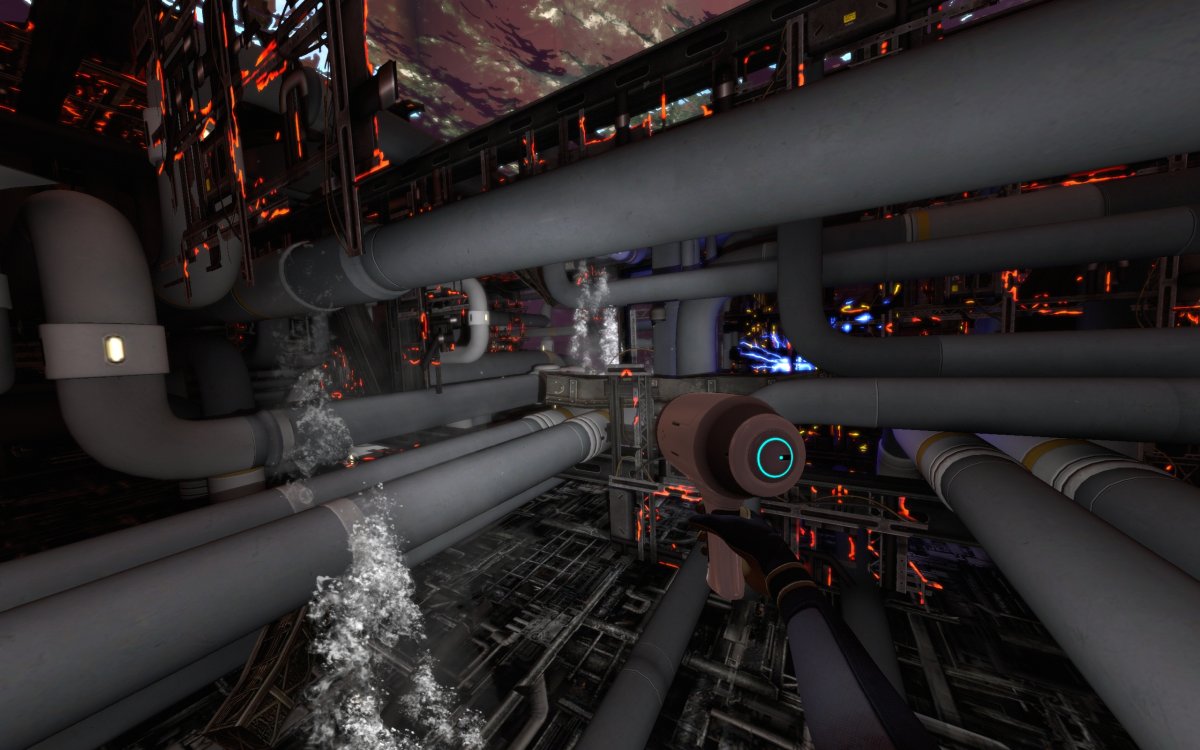
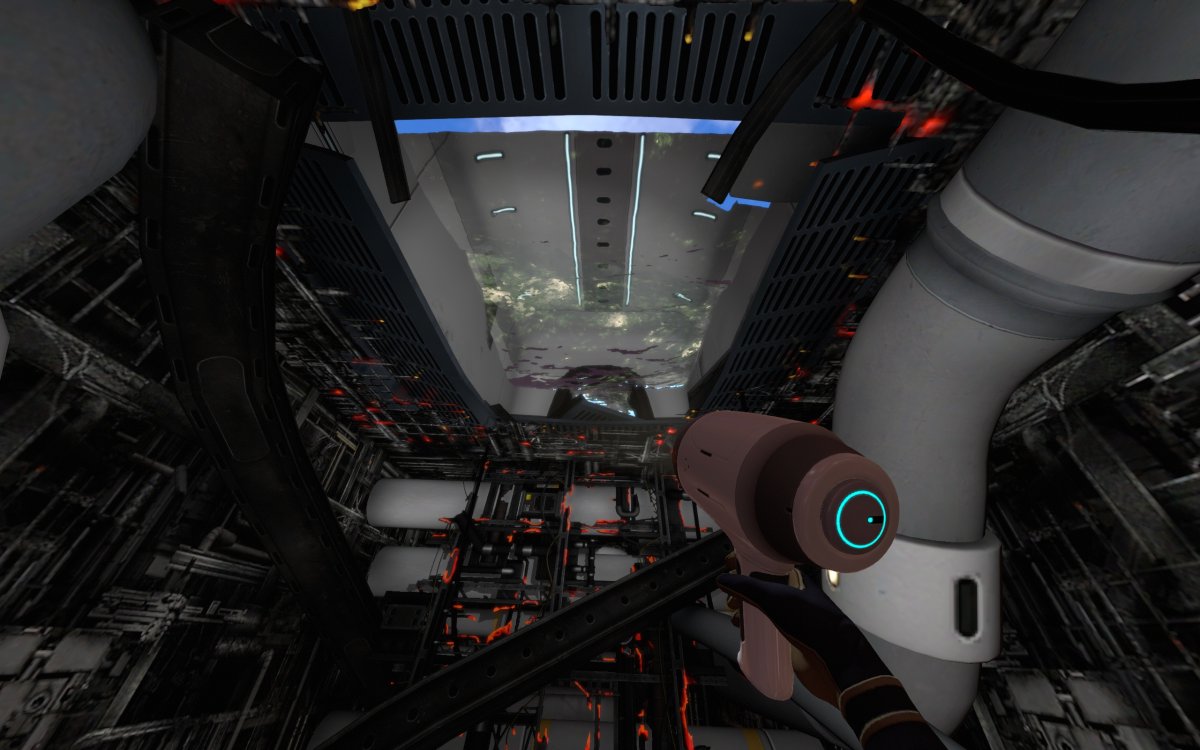
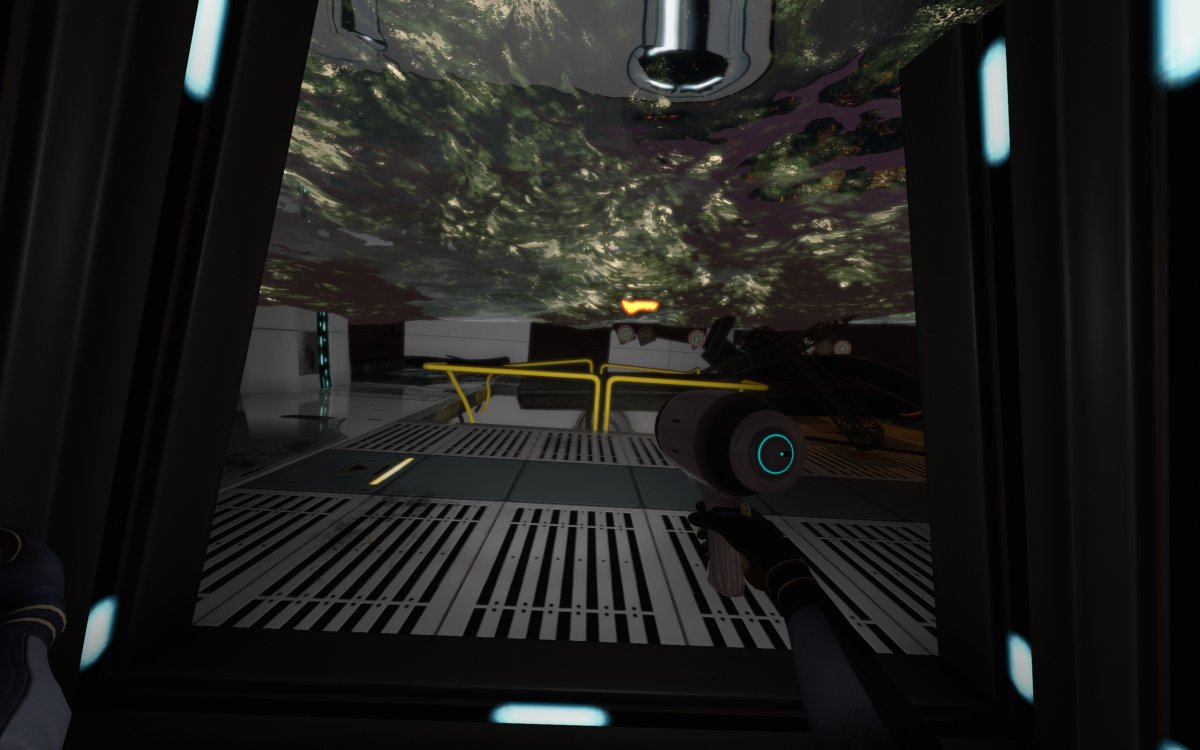
If you see a long tunnel like this you’ve found it, keep going.

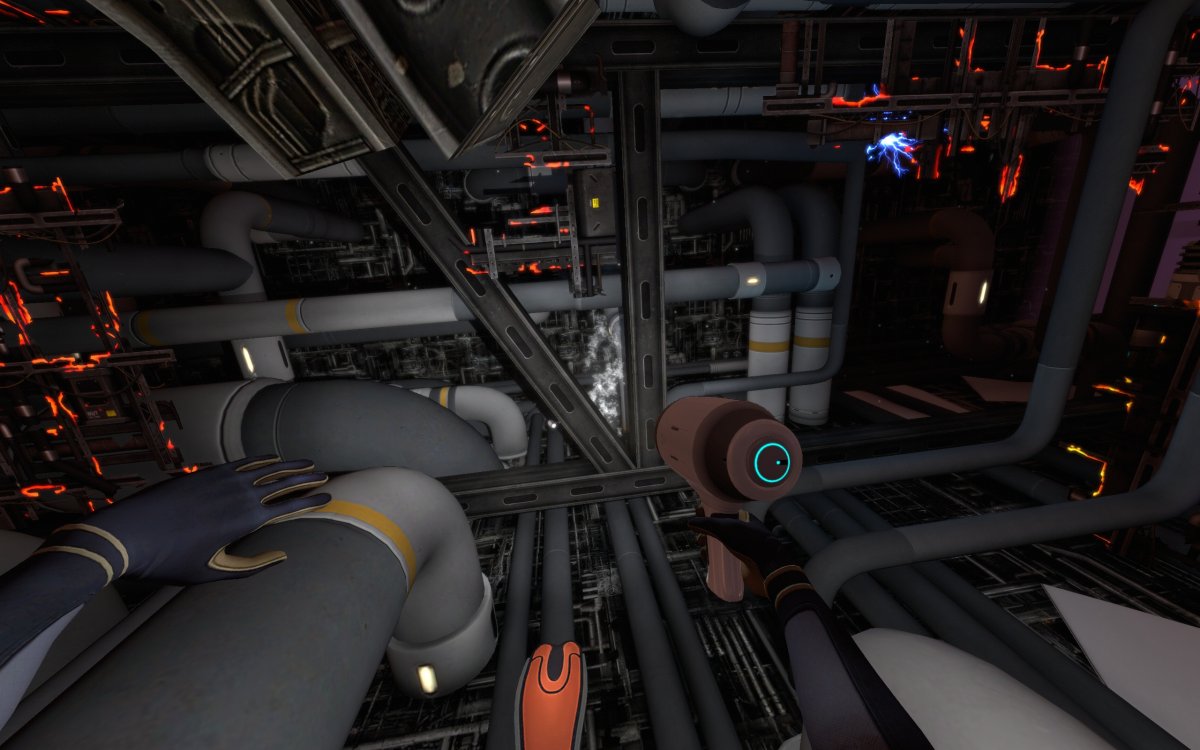
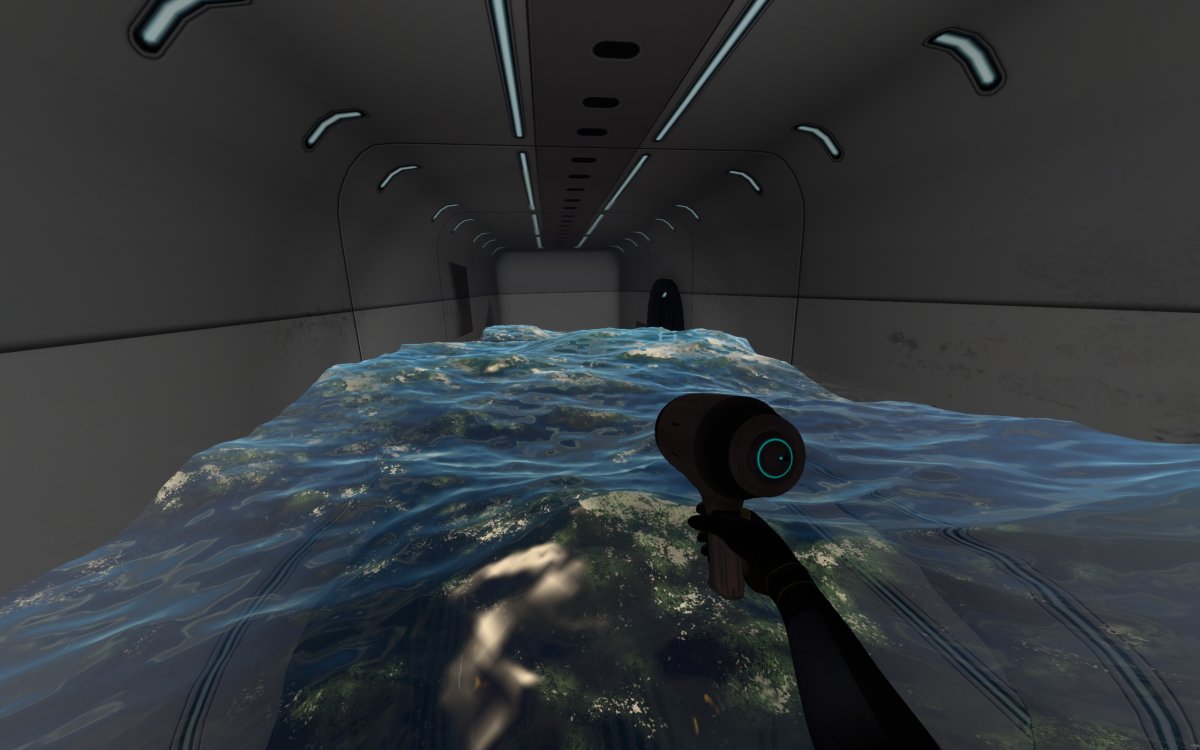
Eventually you’ll reach this chamber that has air to breathe.
The Black Box Room
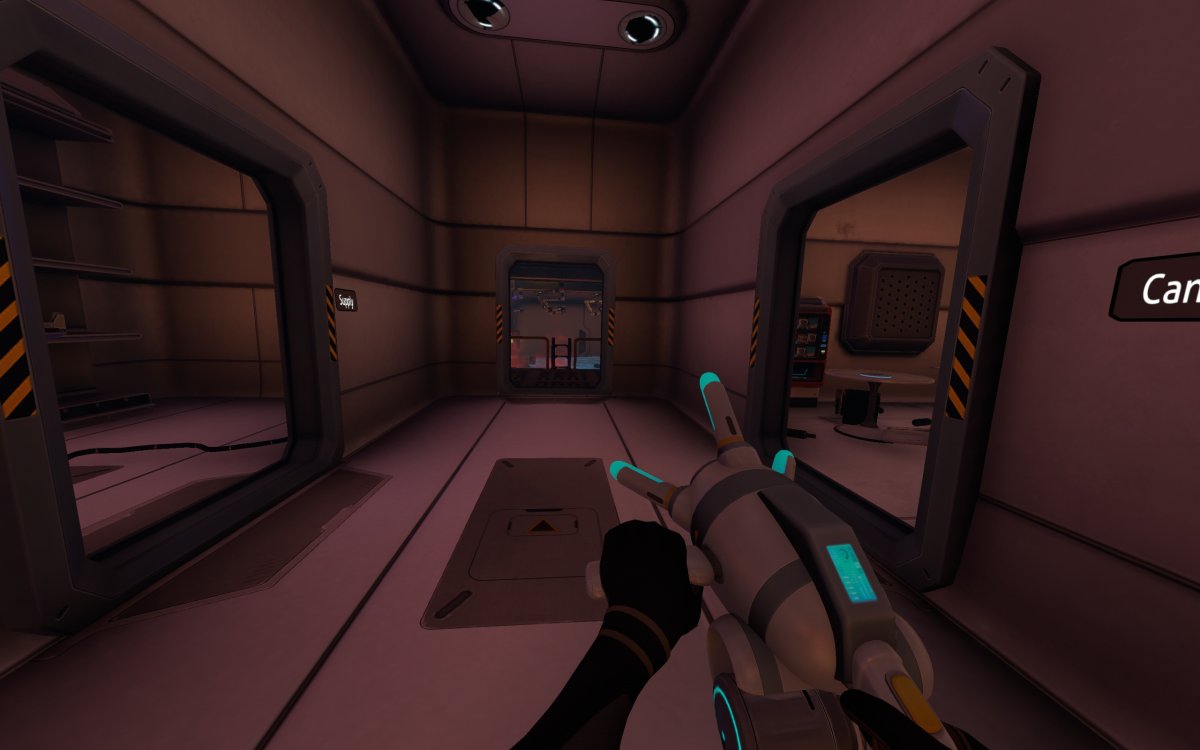
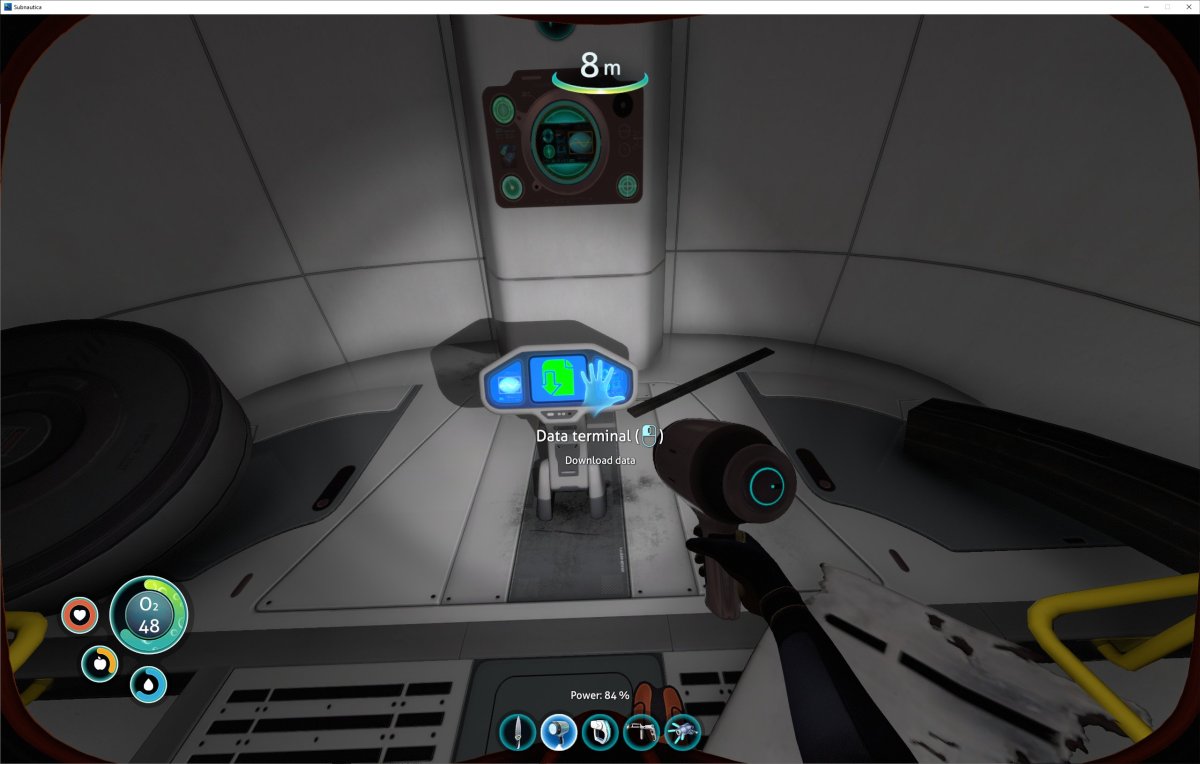
An open door on the right leads into the Aurora’s Black Box room.

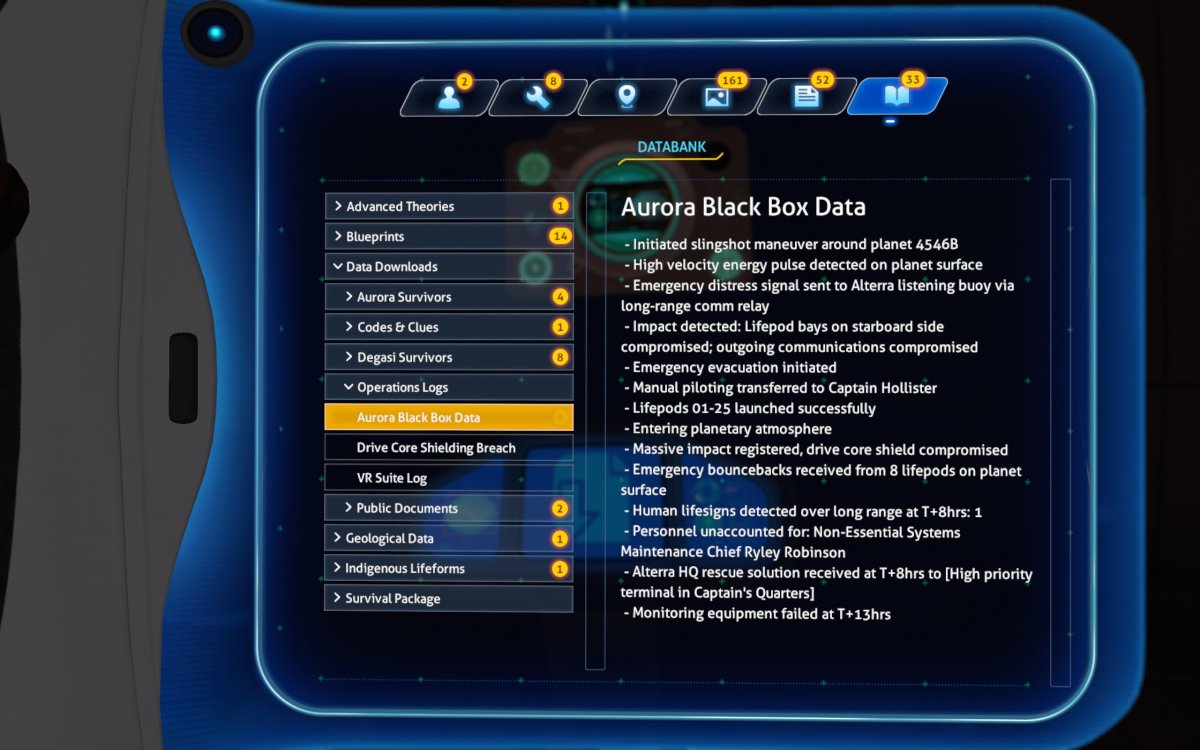
At the far end of the Black Box room, the Black Box data can be downloaded from the terminal.
Gaining Access to the Data Coil Room
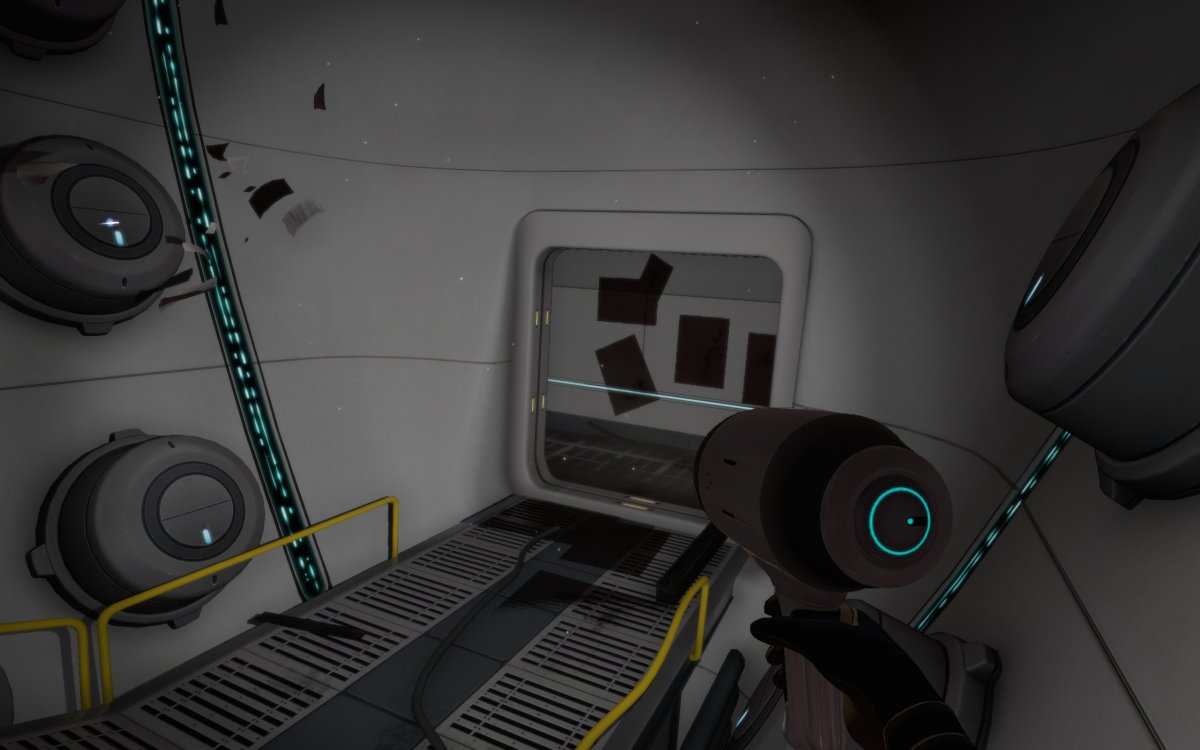
Opposite from the Black Box Data Terminal is an open door leading into a hallway.
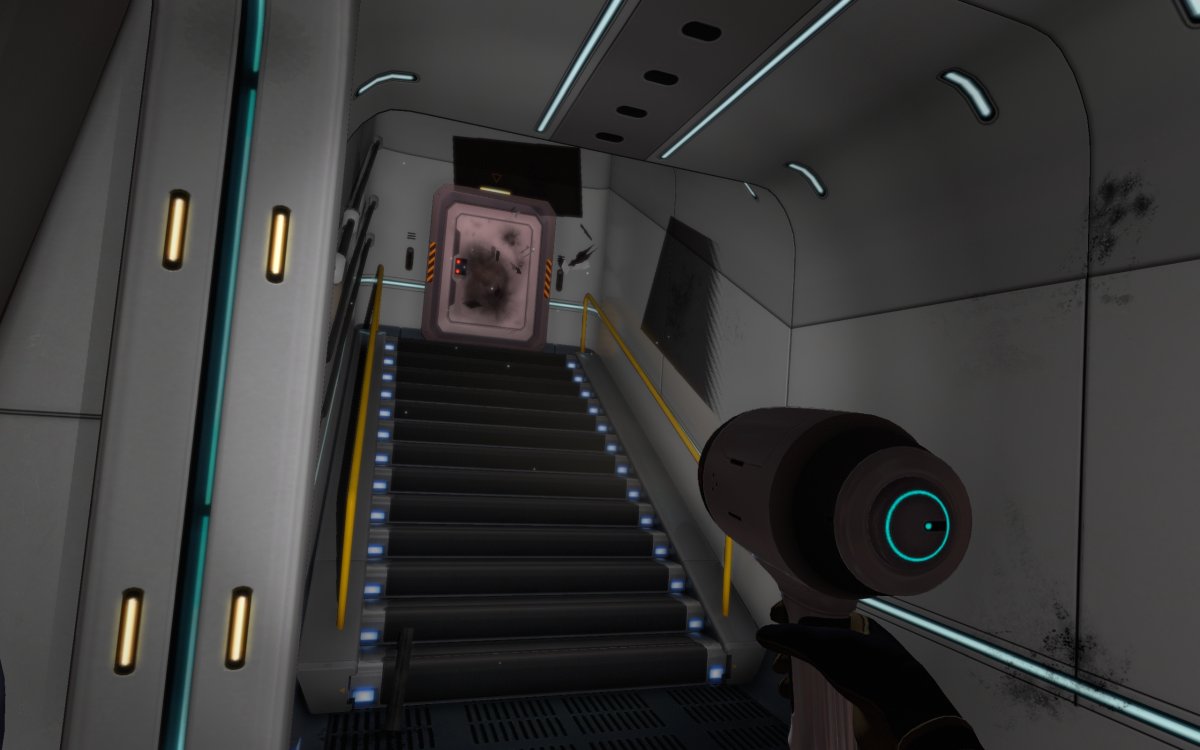
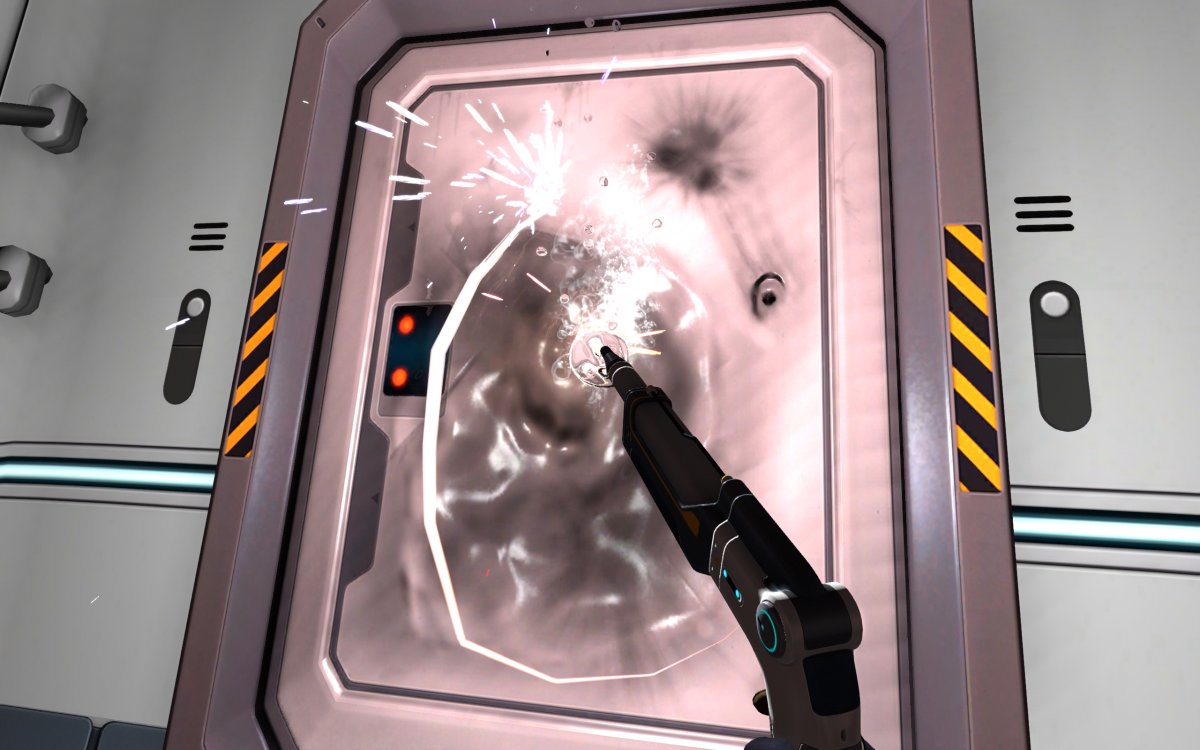
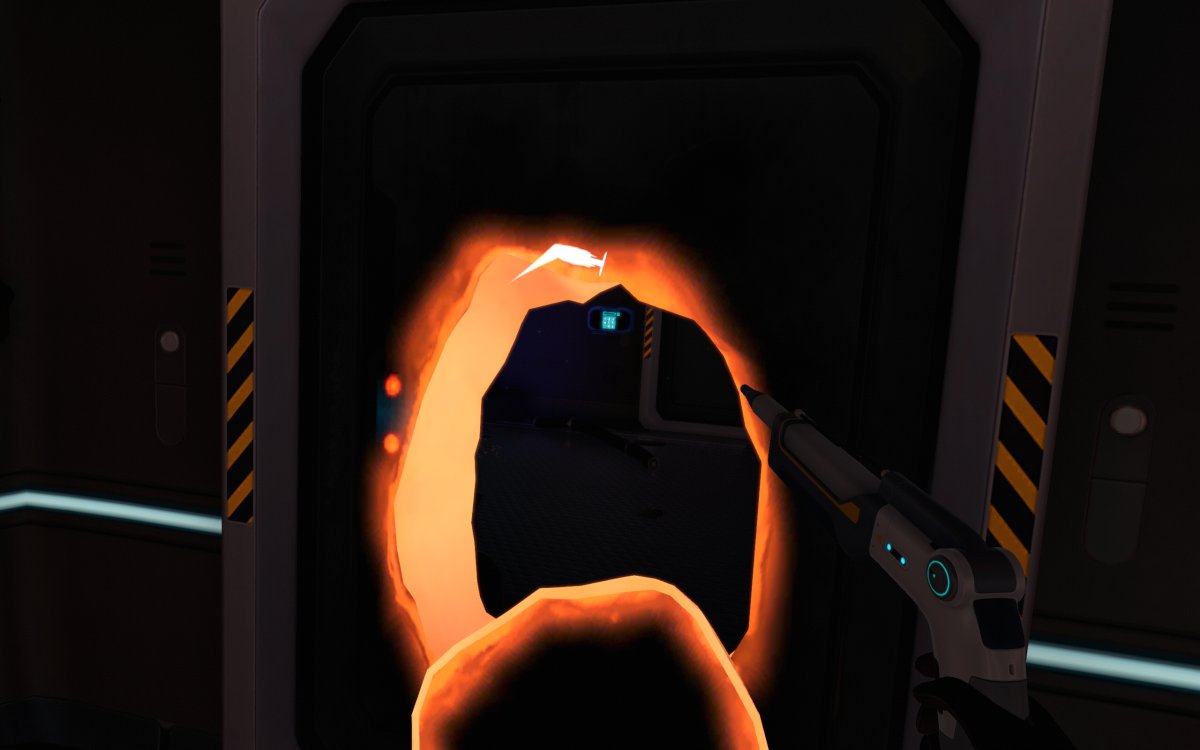
Cut through the sealed door with your Laser Cutter to proceed to the Data Coil Room.
Gaining Access to the Lab
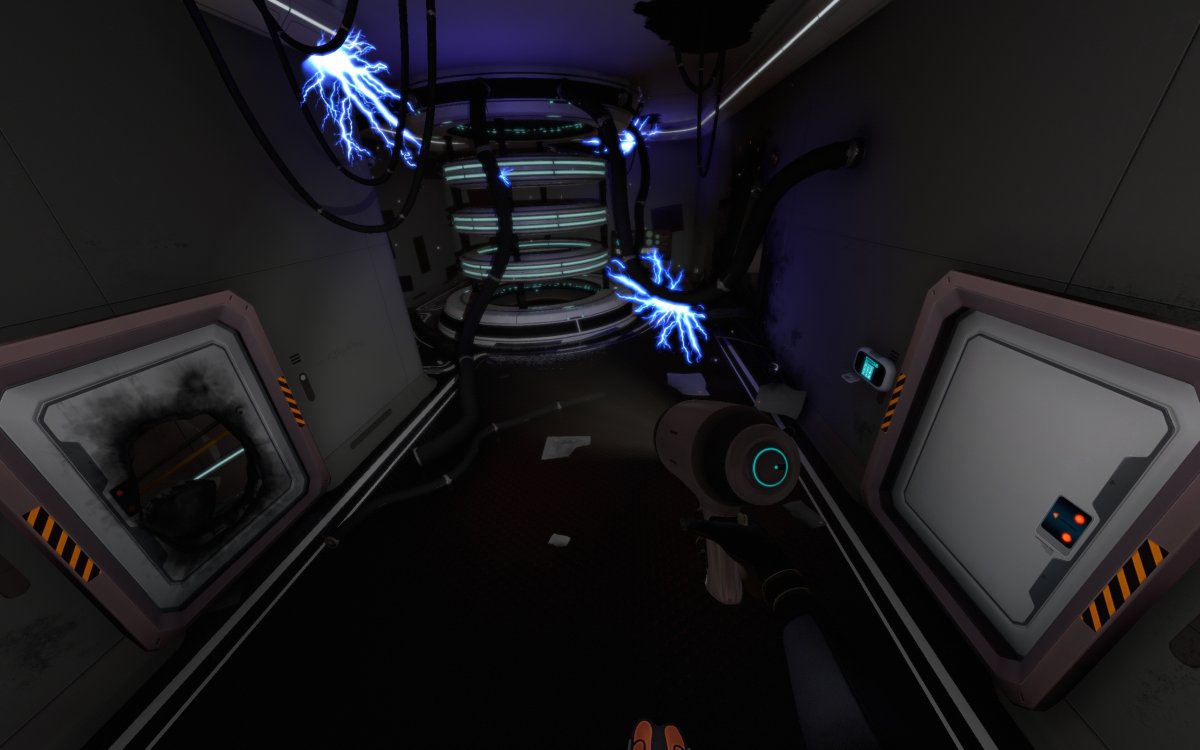
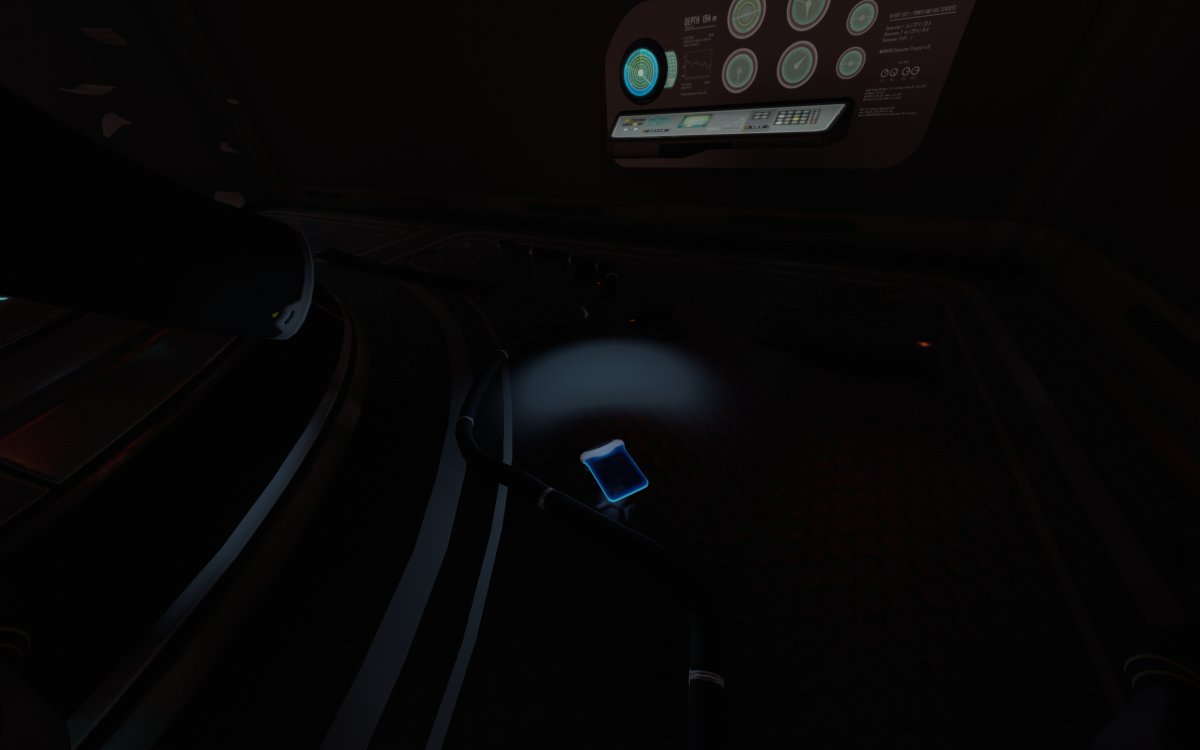
At the far end of the room, next to the Data Coil, a PDA containing the Lab Door Code can be found lying on the floor.

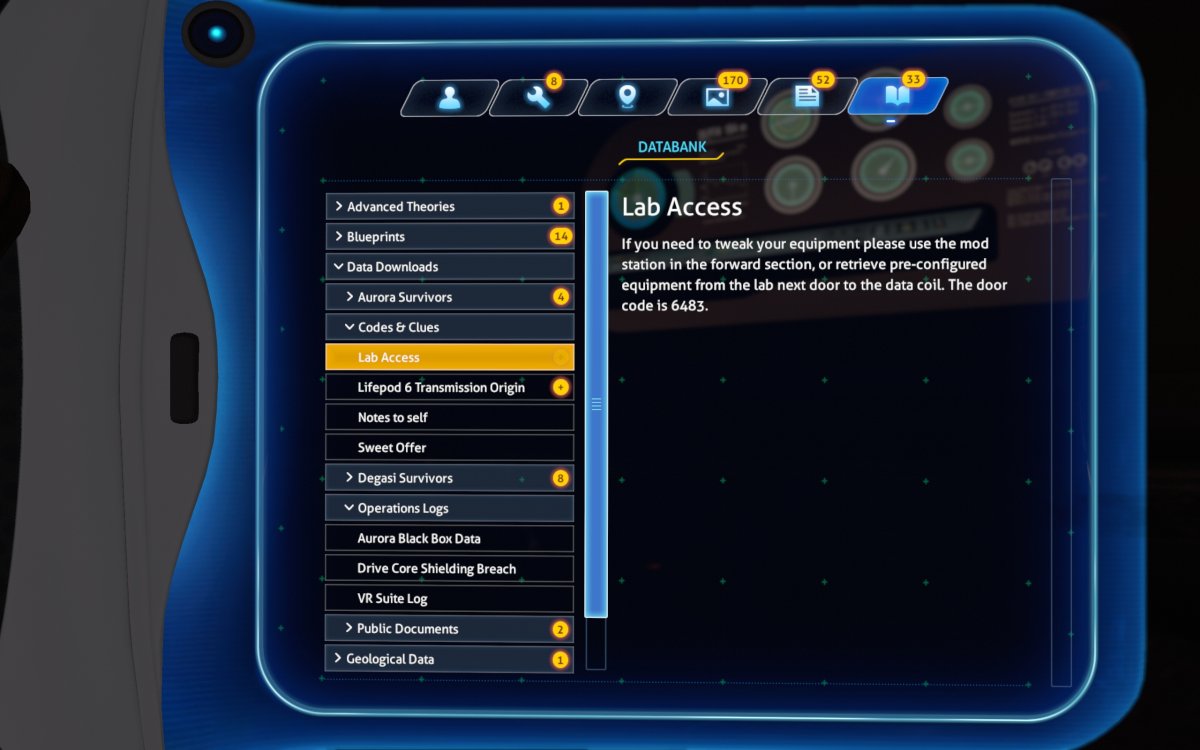
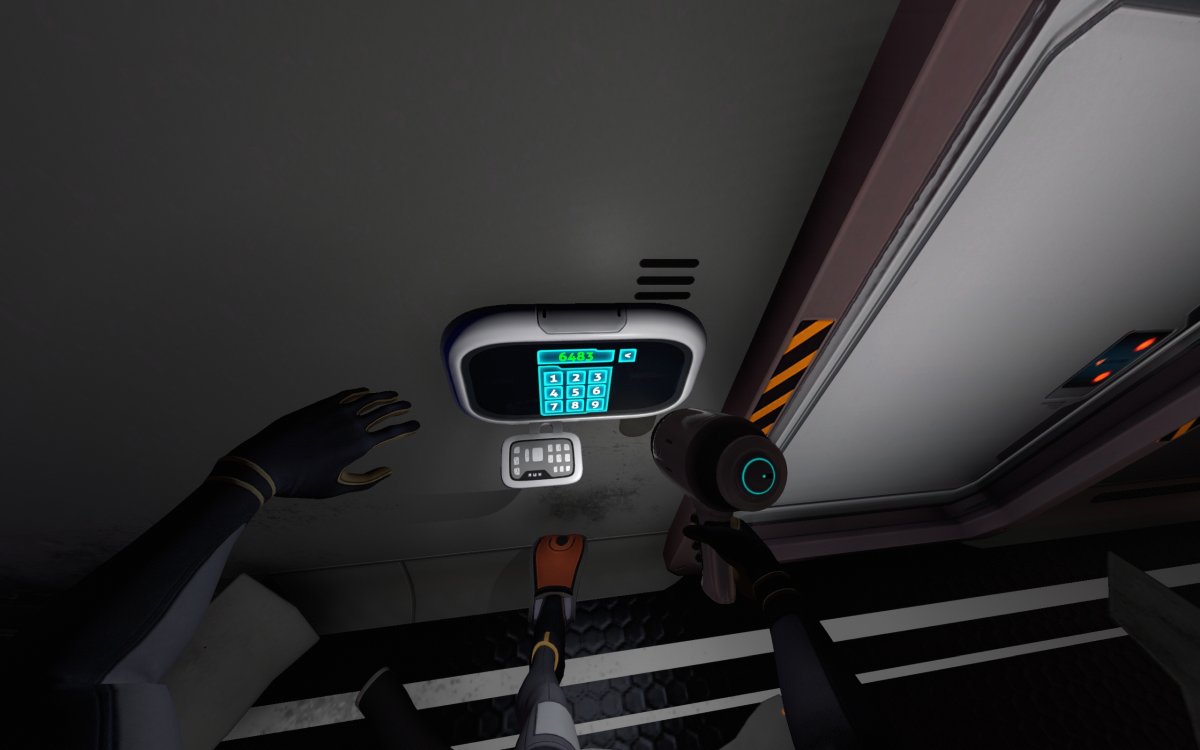
With the Lab door code in hand the Lab can now be accessed.

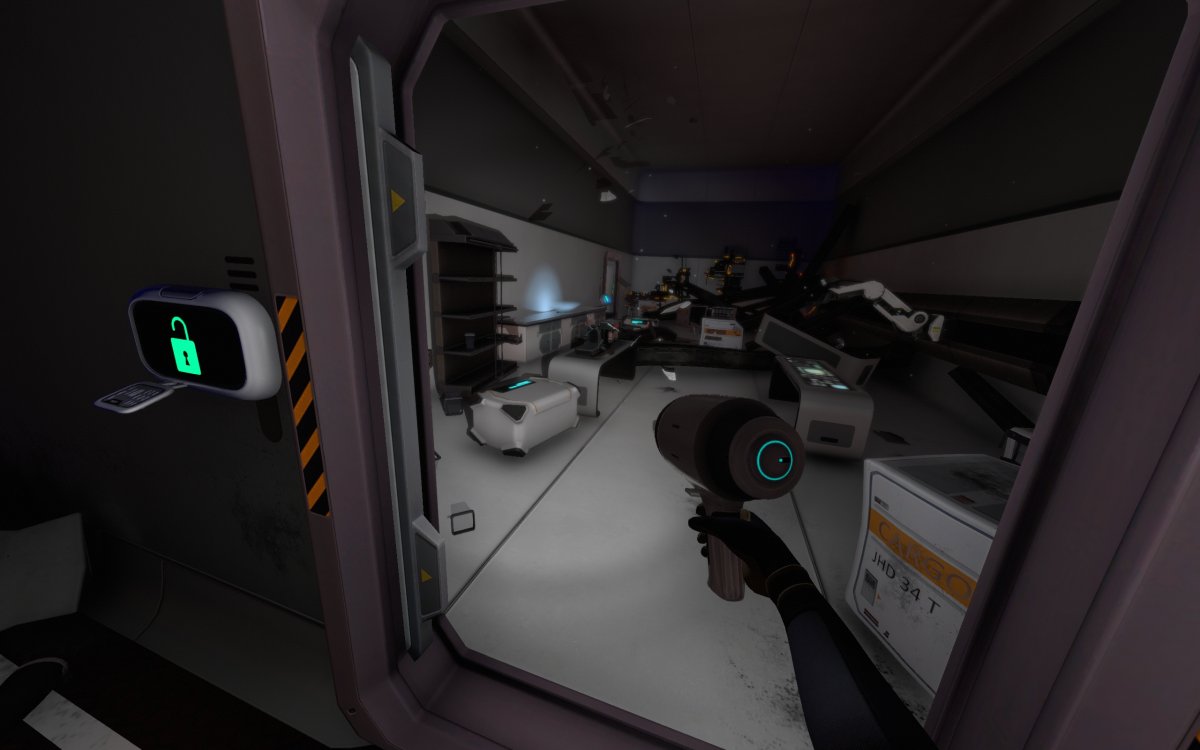
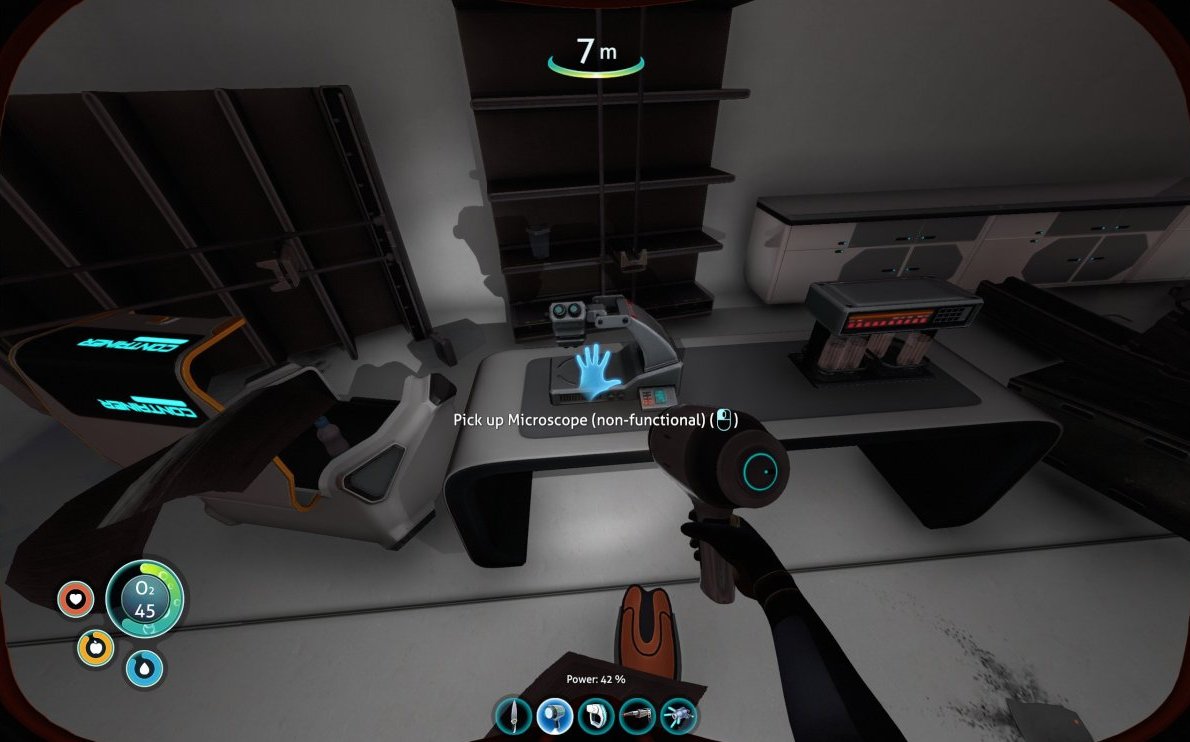
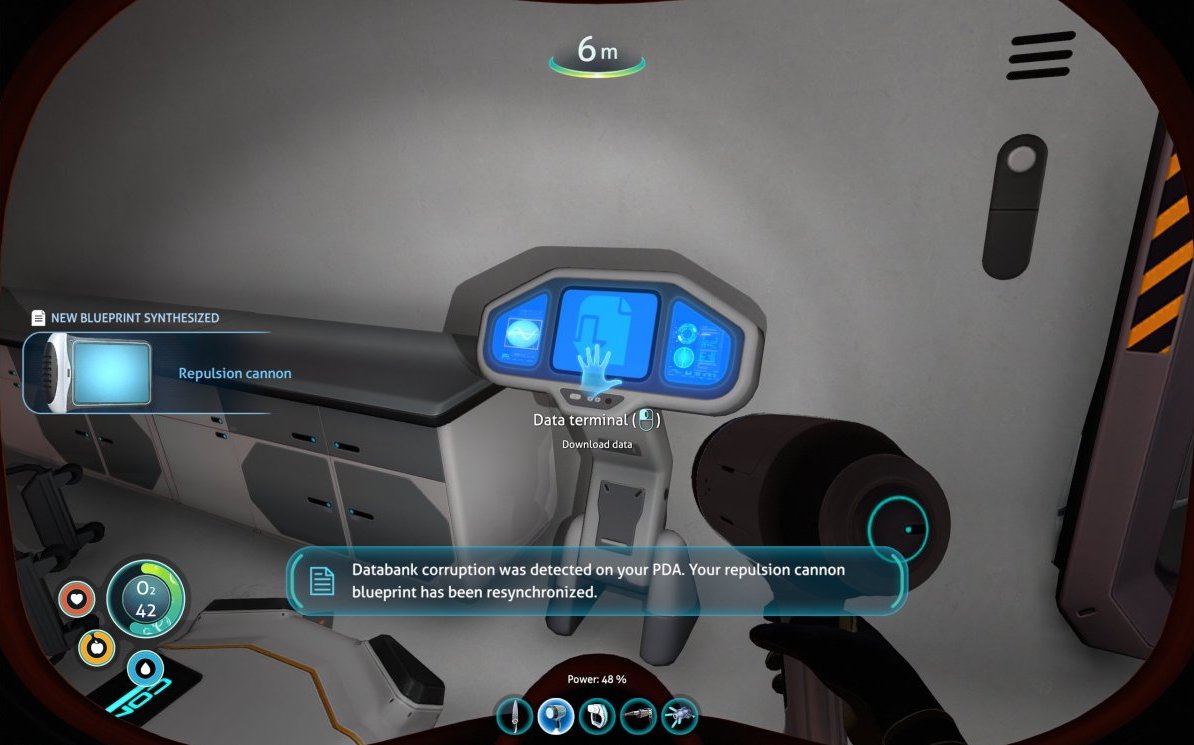
The Lab
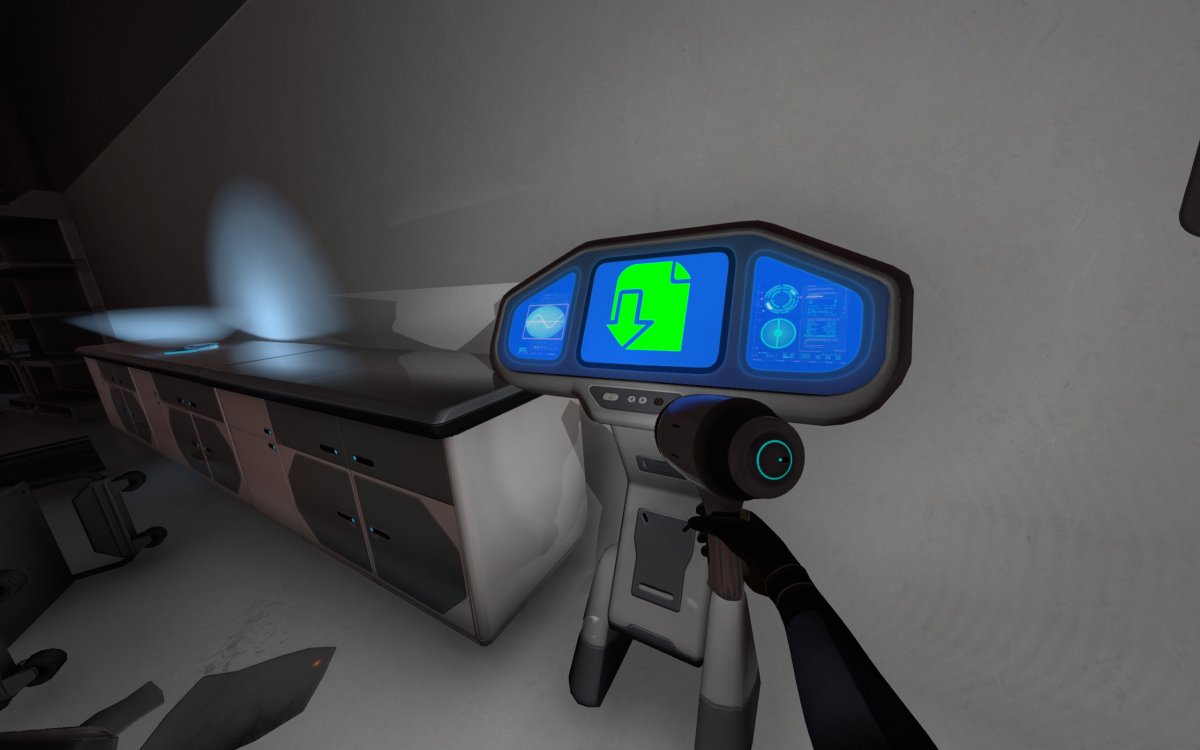
The Data Terminal in the Lab contains the blueprints for the Repulsion Cannon, a modified version of the Propulsion Cannon that repels objects in its path.
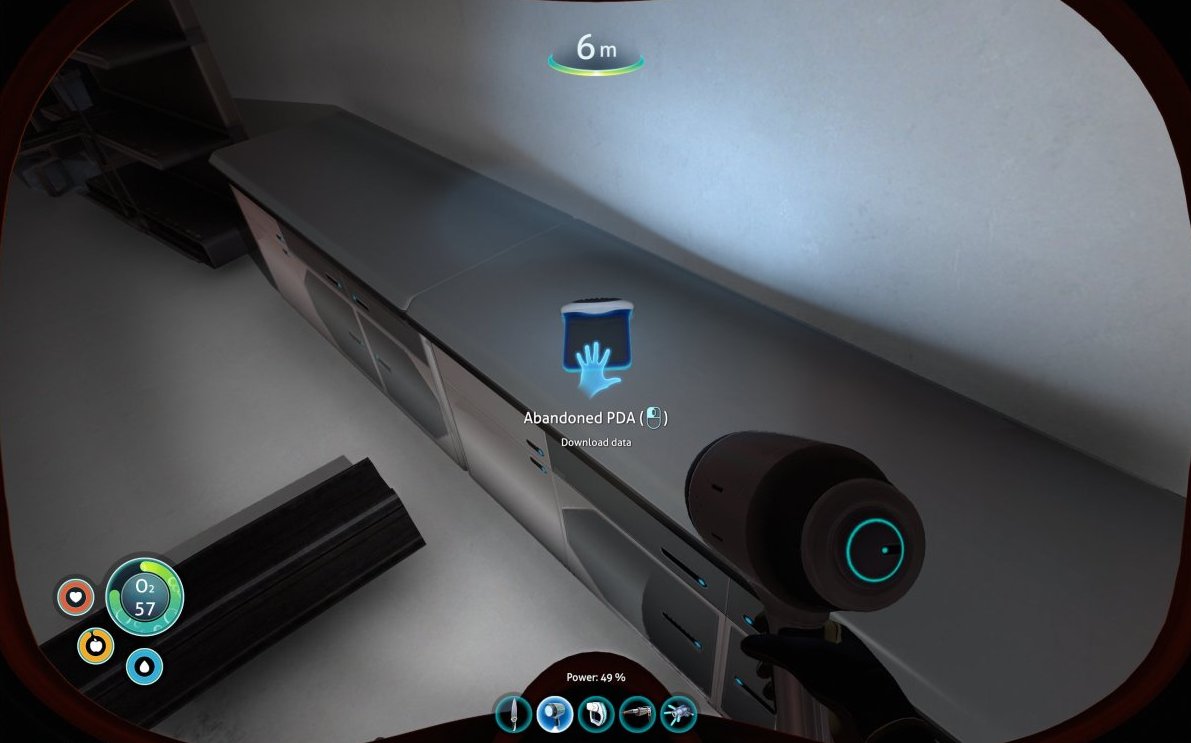
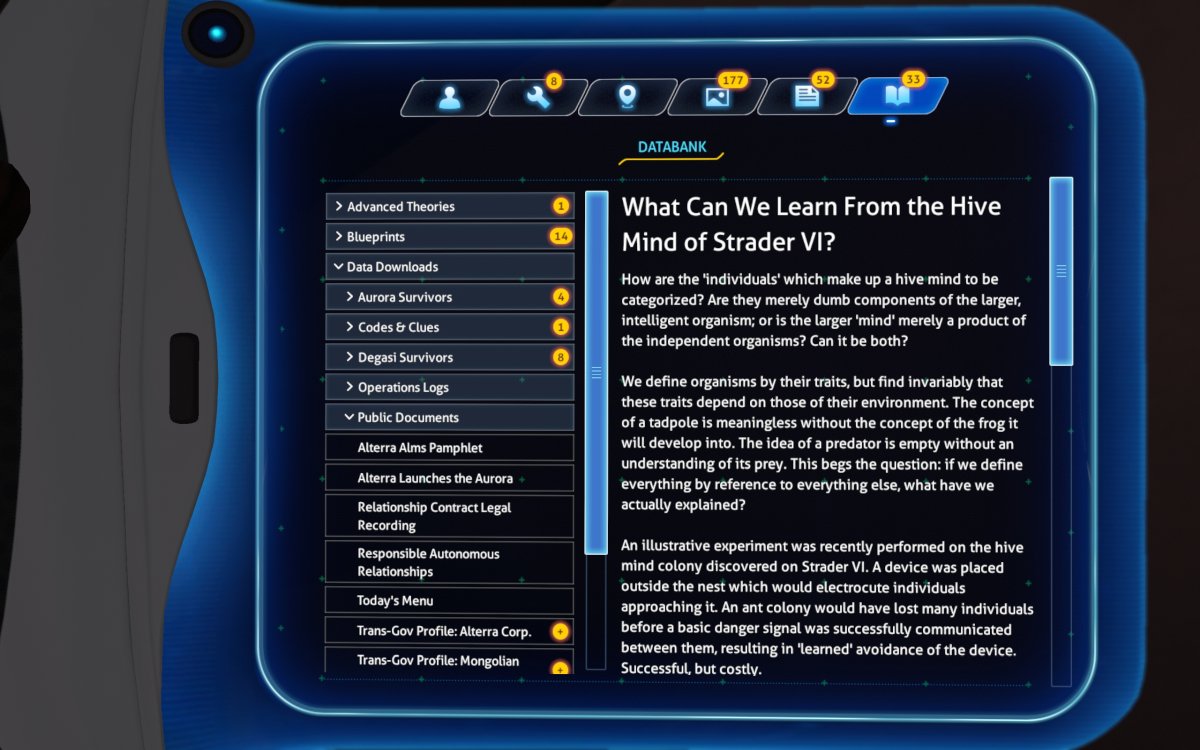
A PDA with a Databank entry can be found sitting on the lab bench.
The lab also contains several non-functional (collectible) lab props.