As we venture into the burning wreck of the Aurora, the first two areas to explore are the Administration office and Cargo Bay 3.
This guide is part of our series “Subnautica: Exploring the Aurora.”
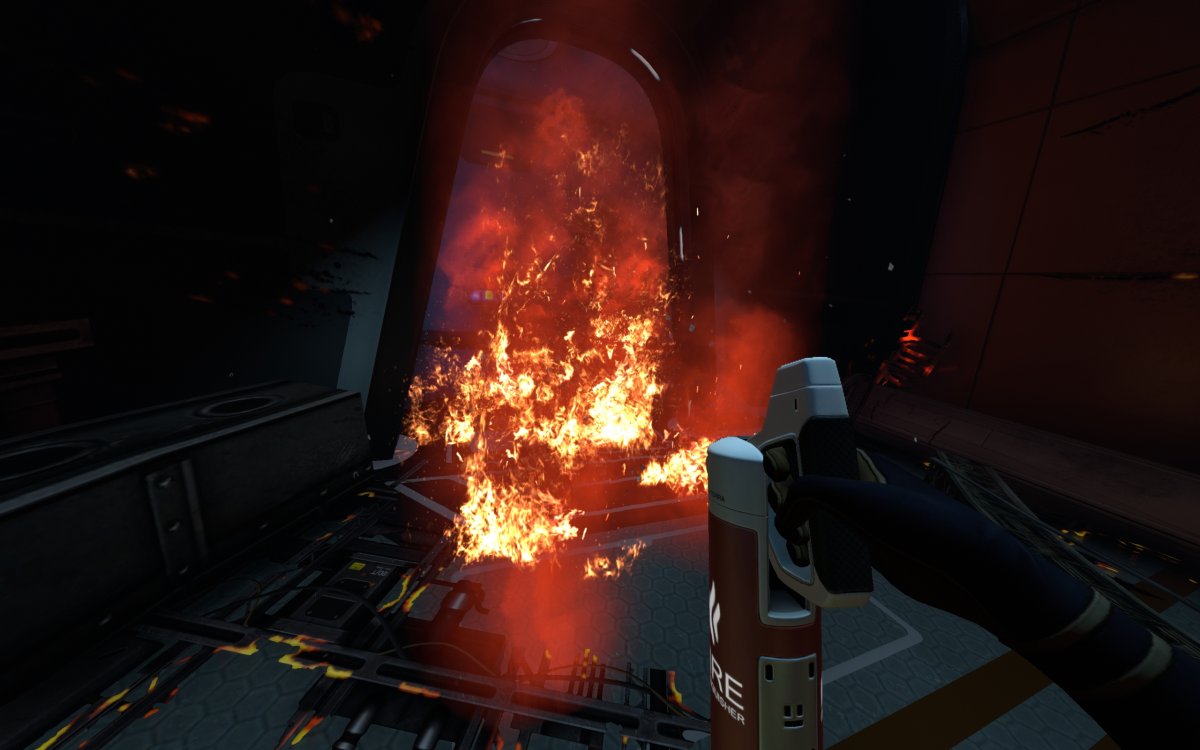
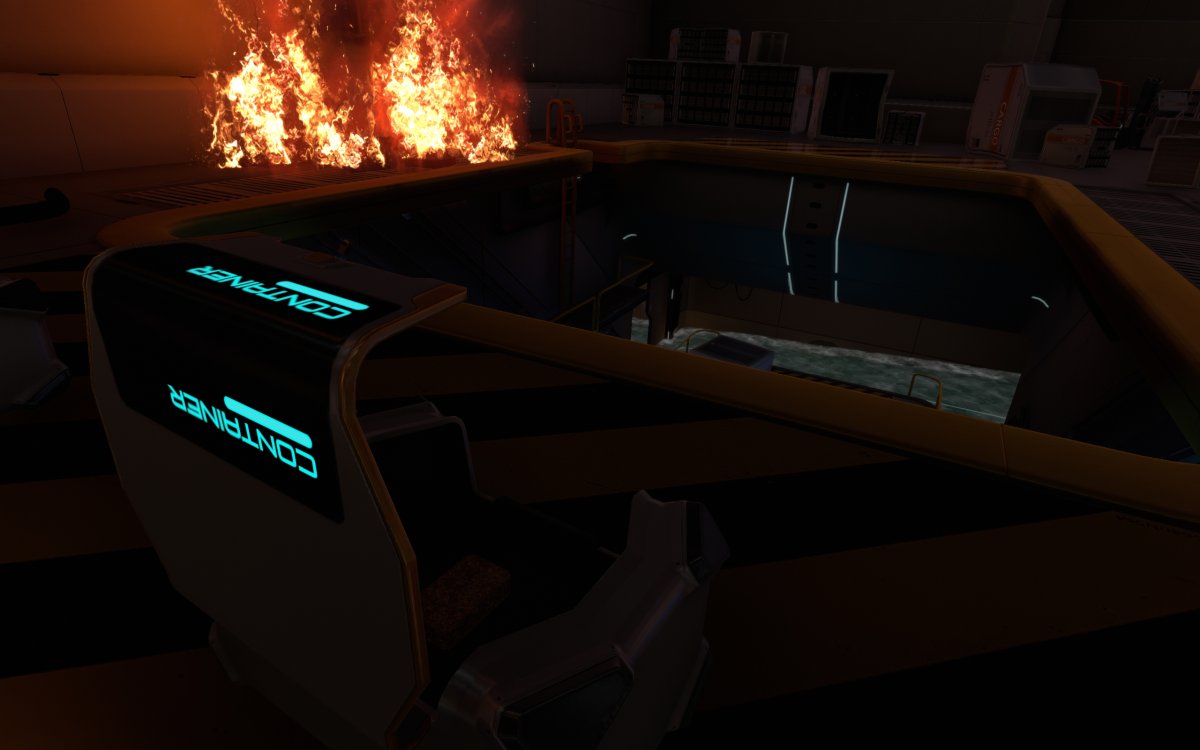
Put Out the Doorway Fire – Or Don’t
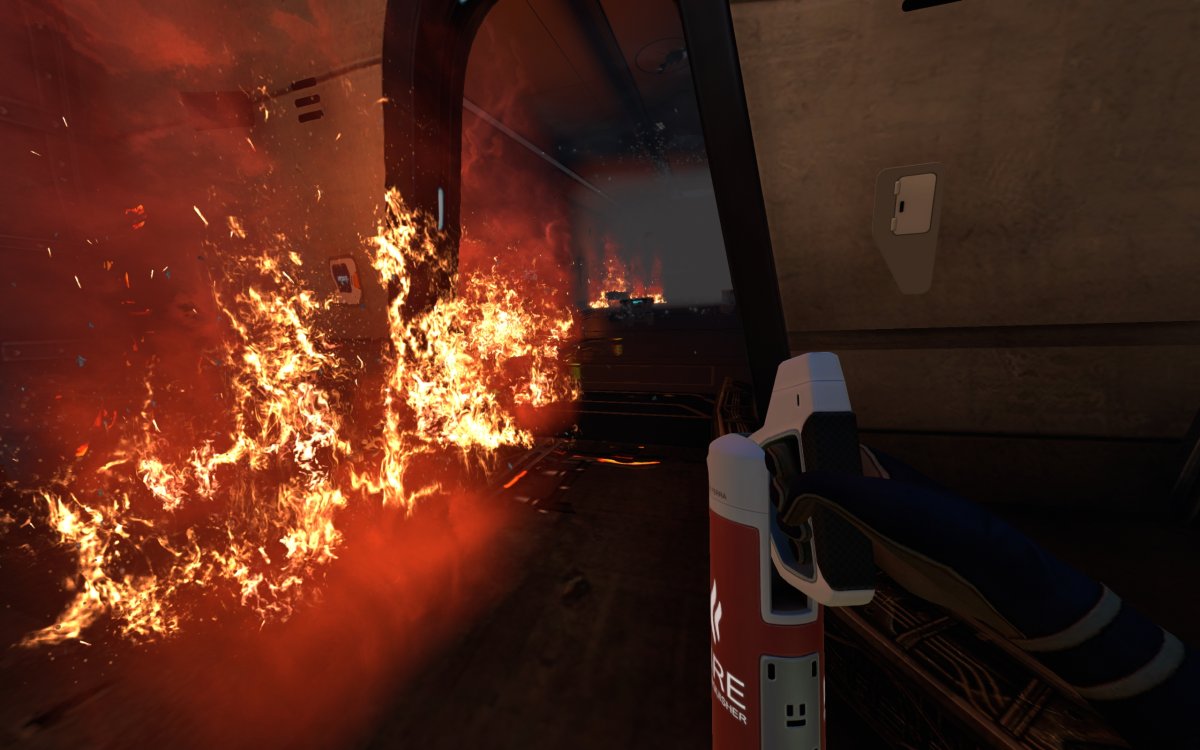
Putting out this doorway fire is optional as you can slide by on the right hand side.
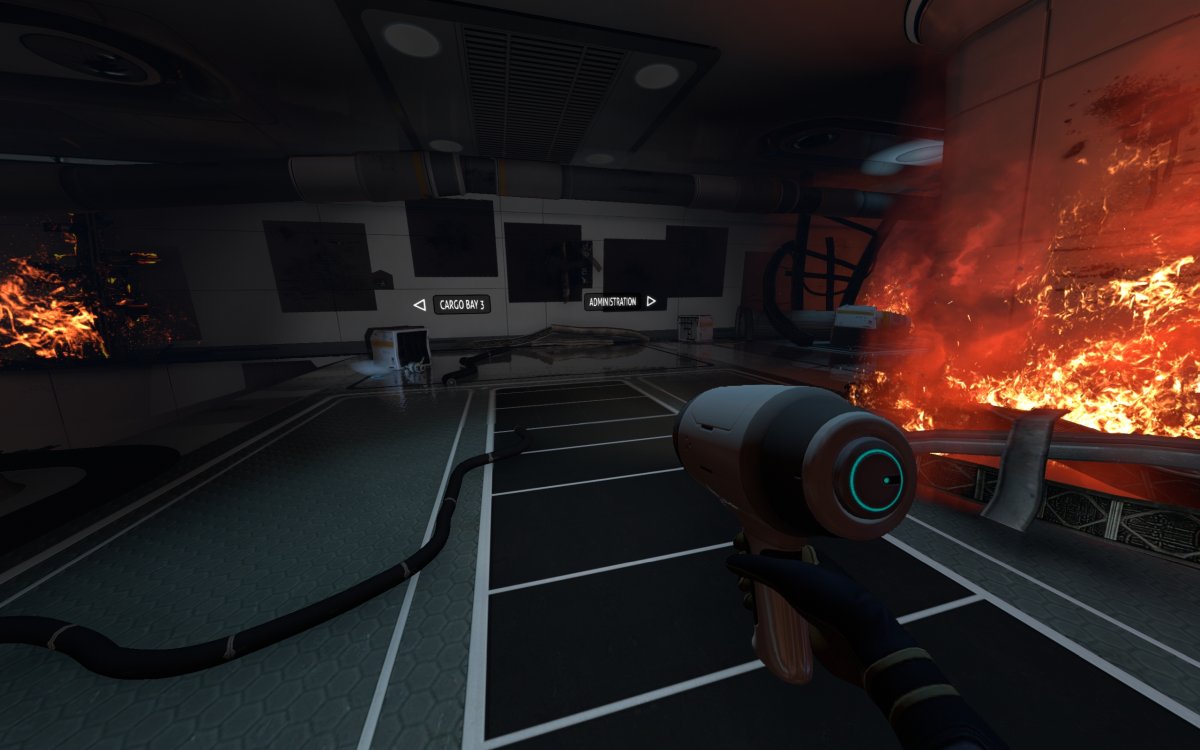
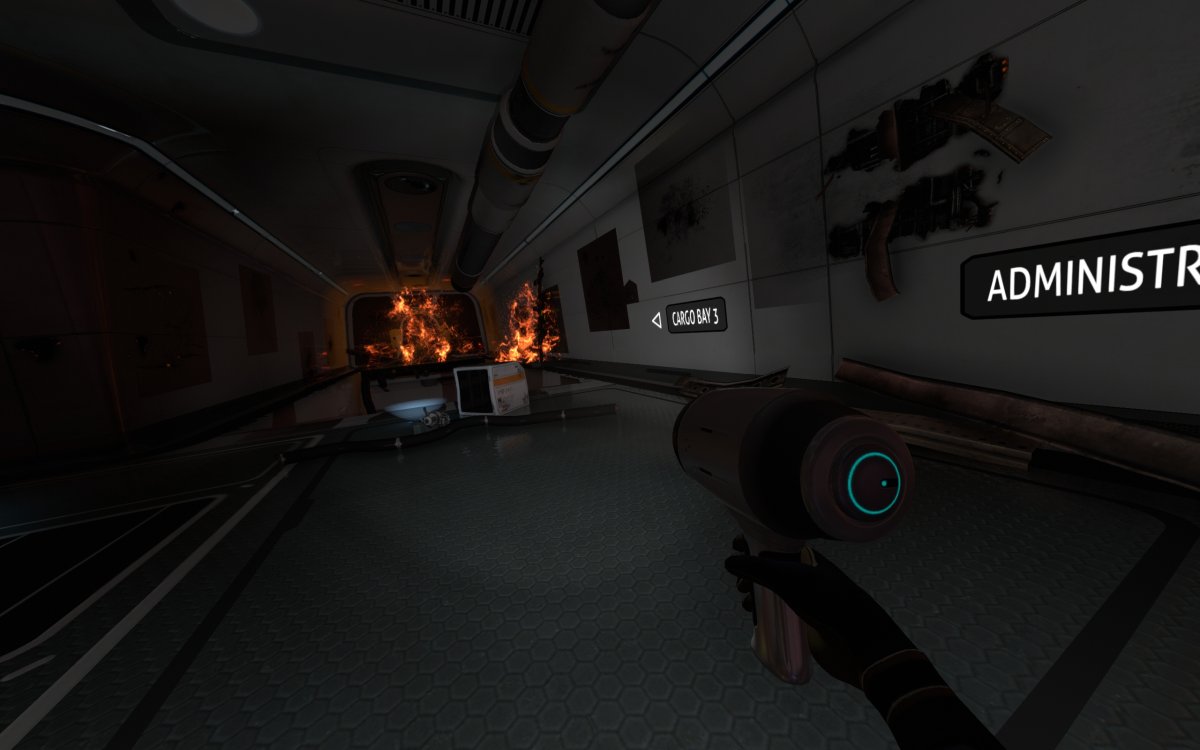
Just inside is a hallway containing a couple of item boxes. Up ahead the signs for Administration and Cargo Bay 3 can be seen.
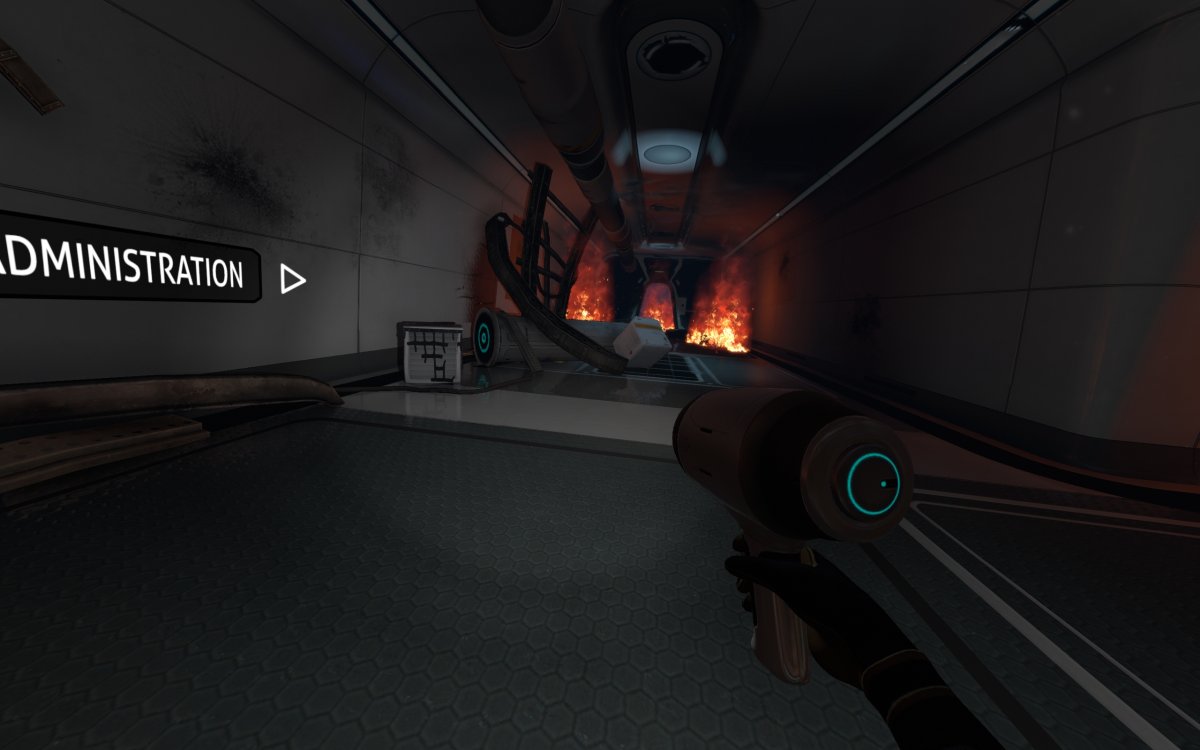
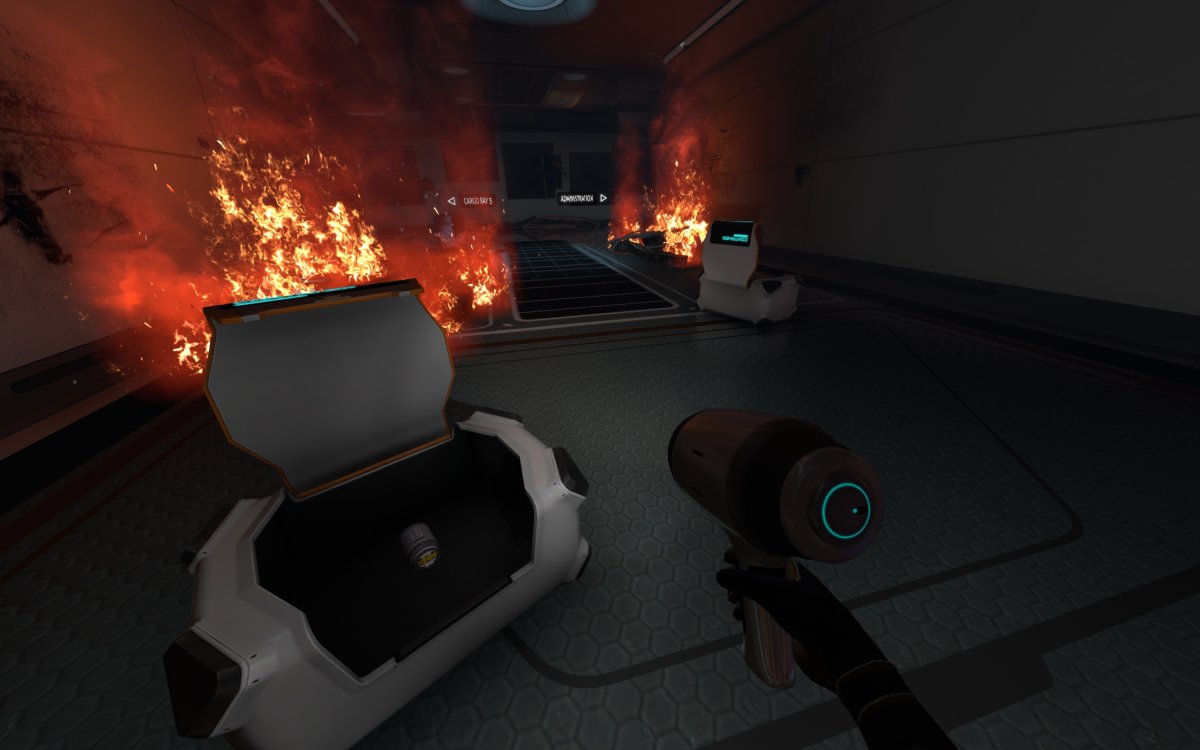
Making our way to the right we see that the door to Administration is obstructed by fire.
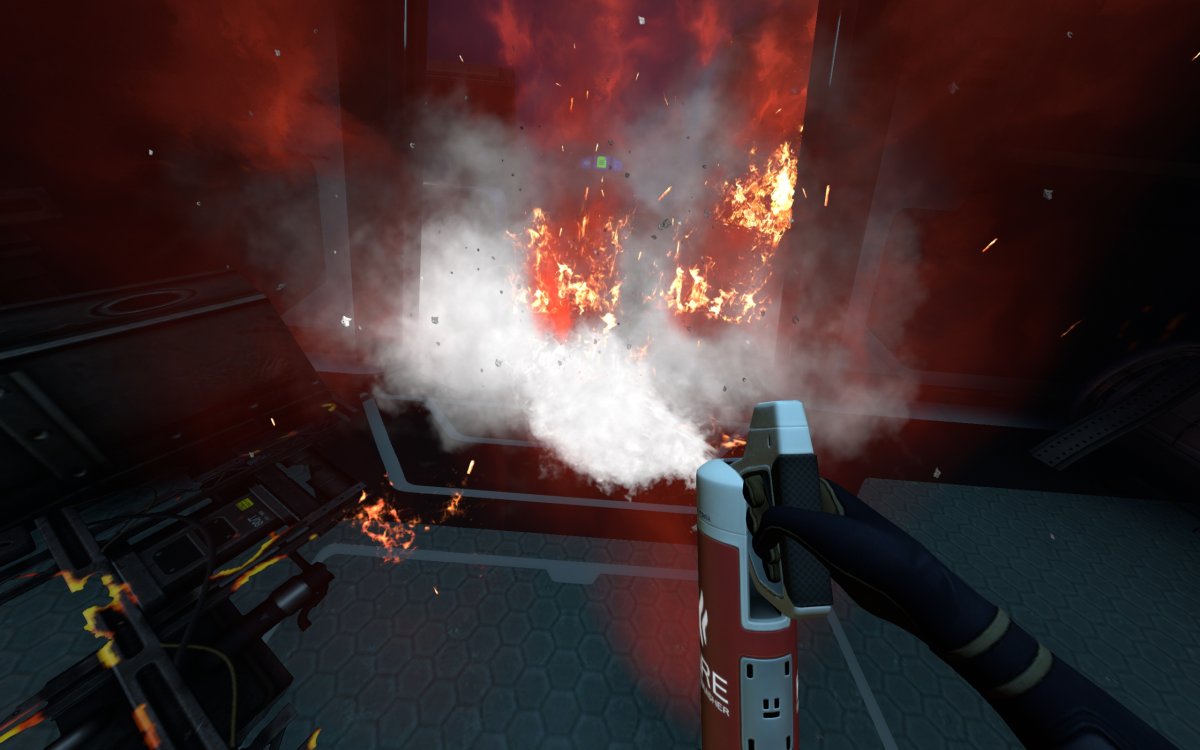
After extinguishing the fire we can proceed into the room.
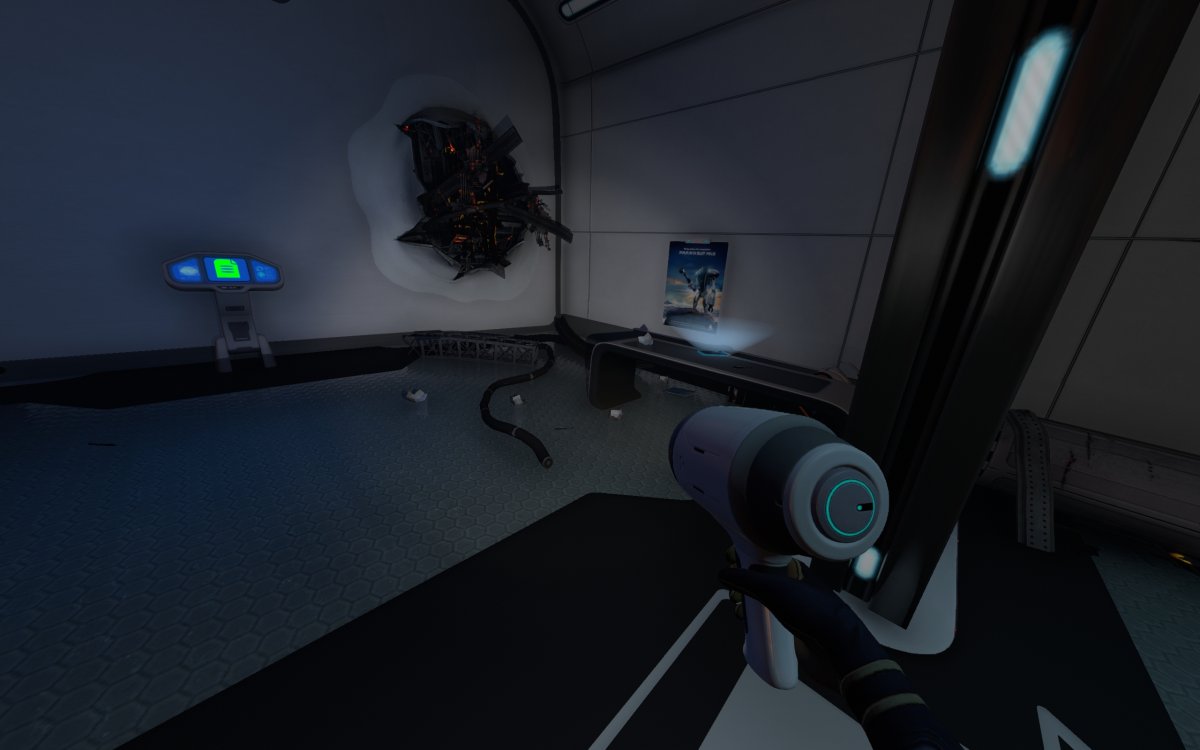
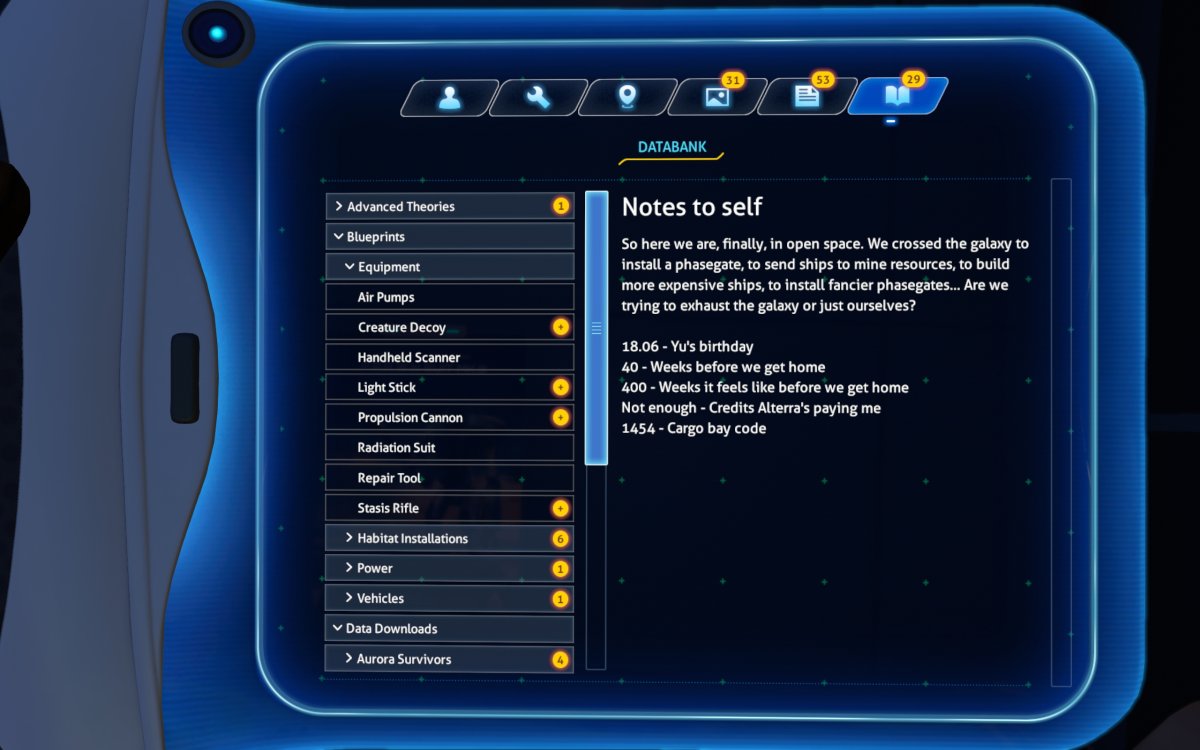
The PDA contains the door code needed to enter the Cargo Bay.
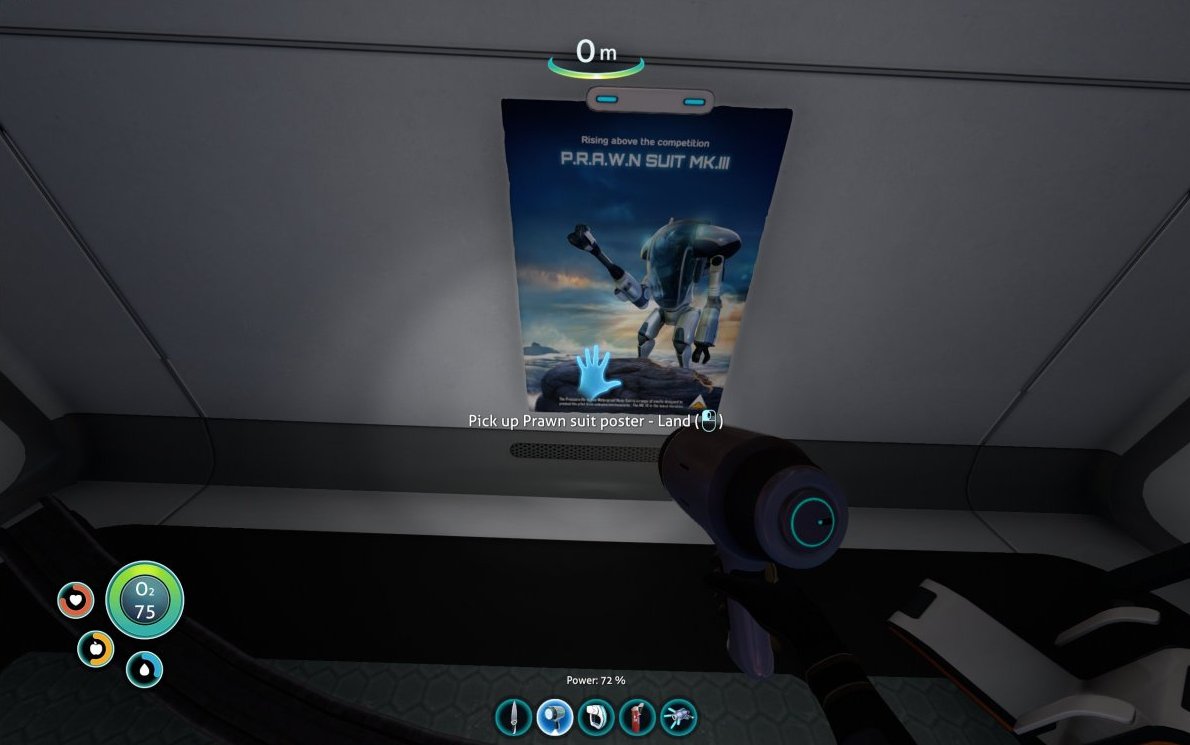
The “Prawn Suit – Land” poster can be found in this room.
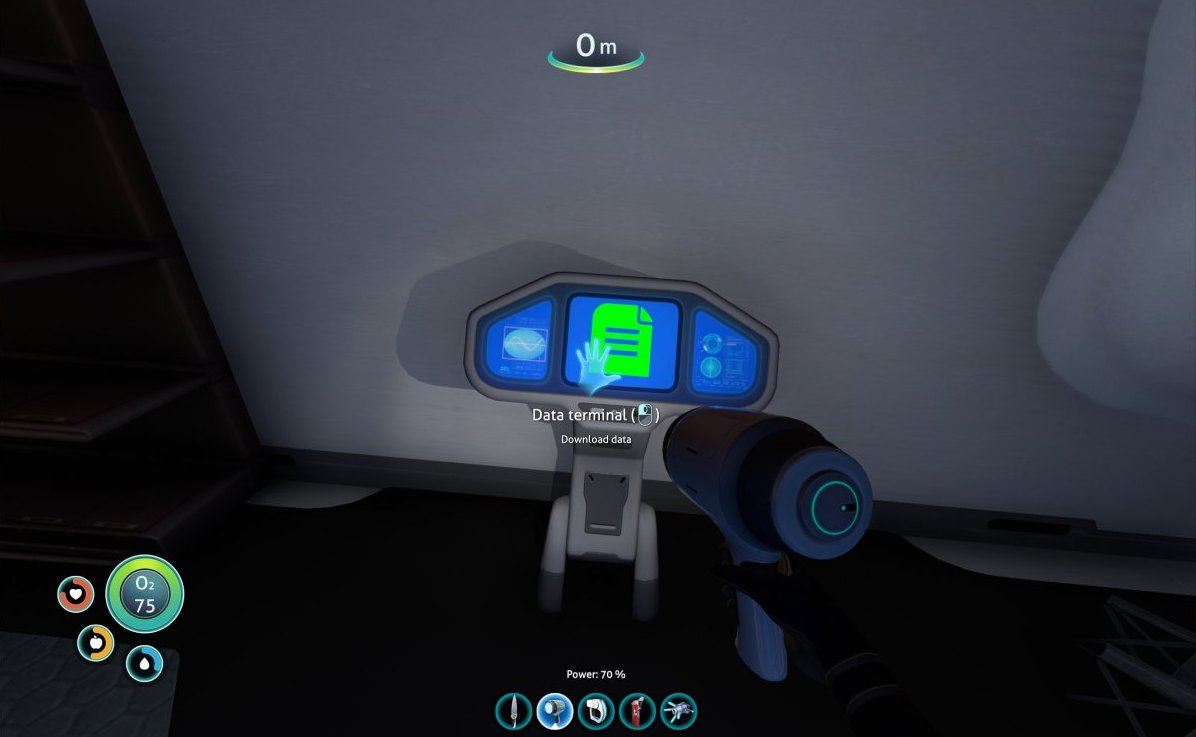
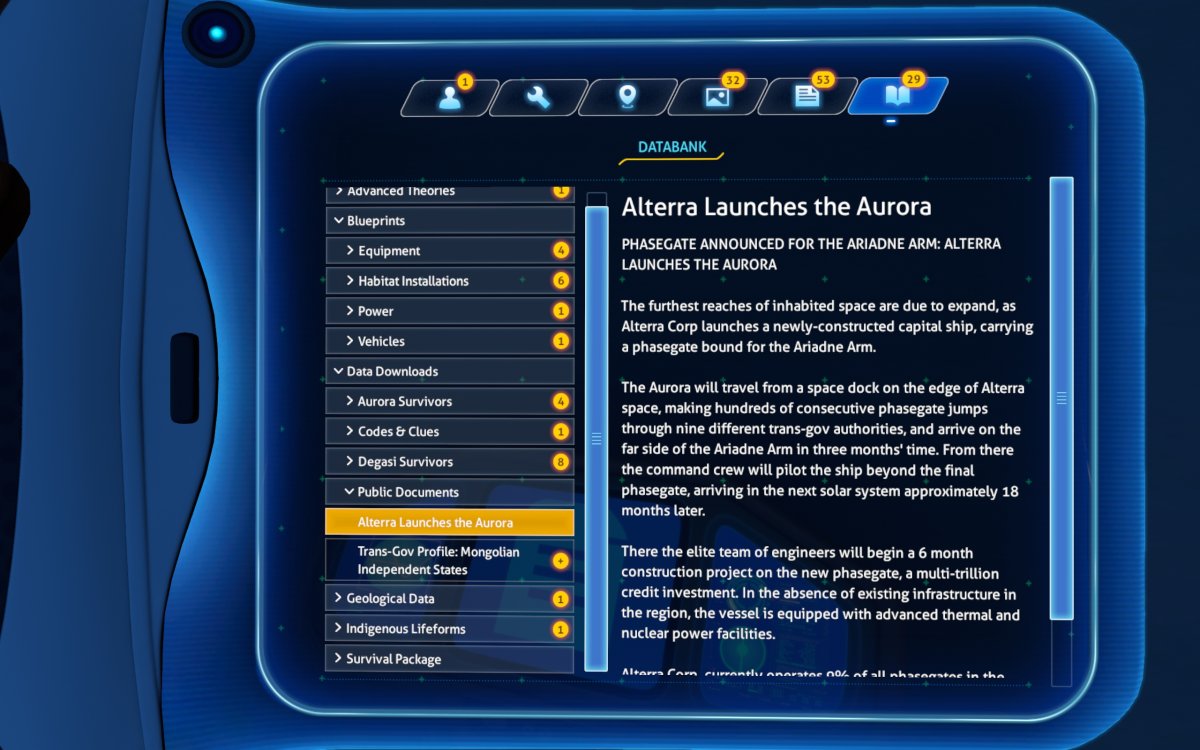
This Data Terminal can be accessed for some public info about the Aurora spacecraft.
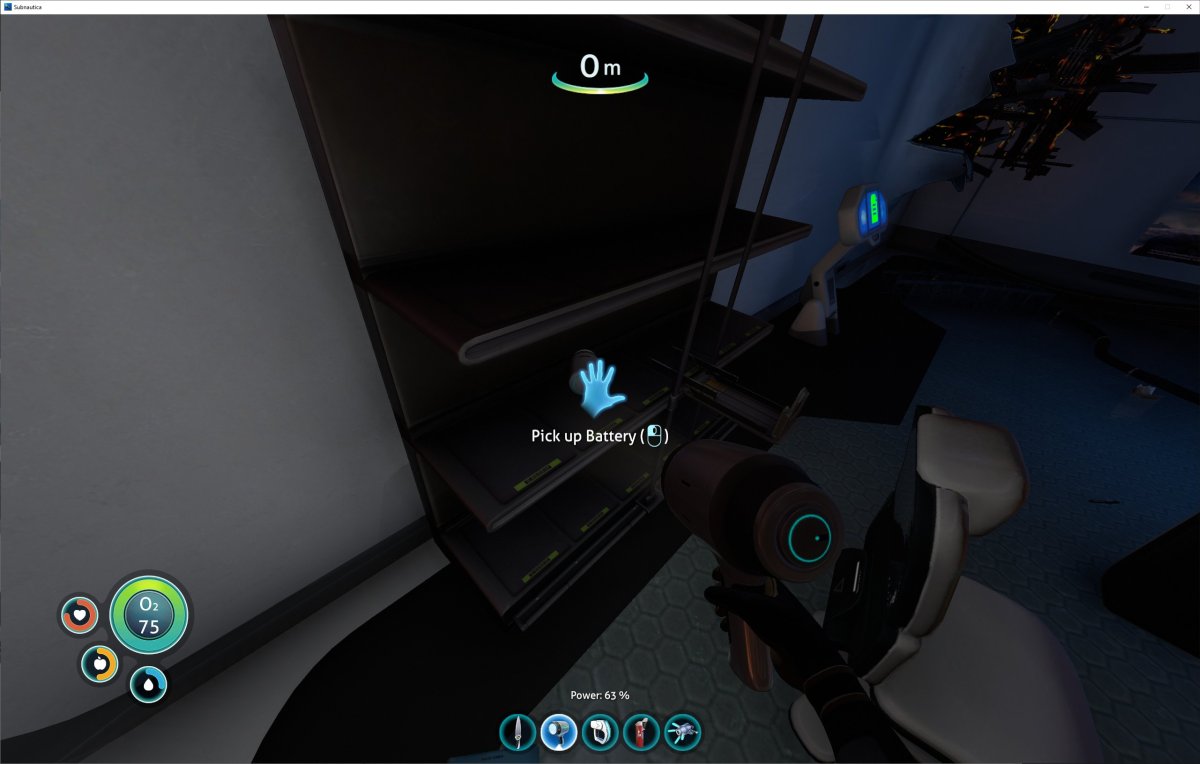
Another battery can be found, sitting on this shelf.

Make sure to scan one of the Trash Cans if you don’t already have the blueprint.
Back out in the hallway, we see a PDA on the floor as we start down the ramp toward the Cargo Bay.
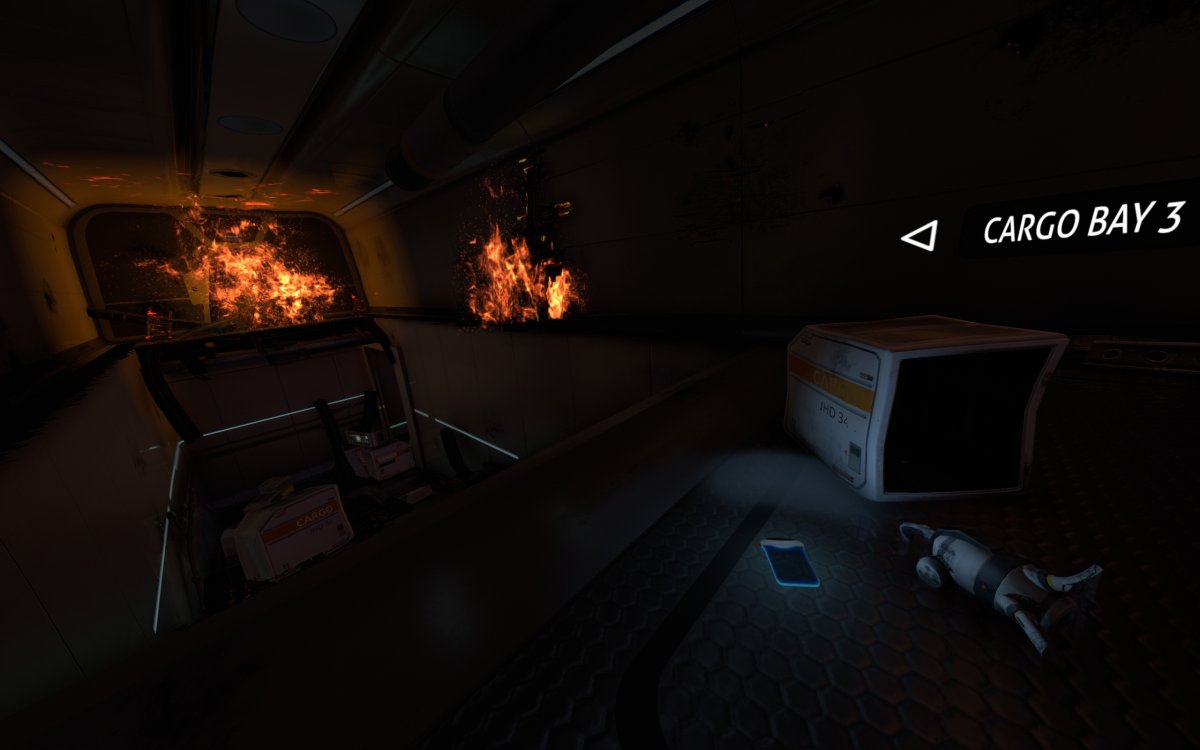
Continue down the ramp, to where the opening into the next hallway is blocked.
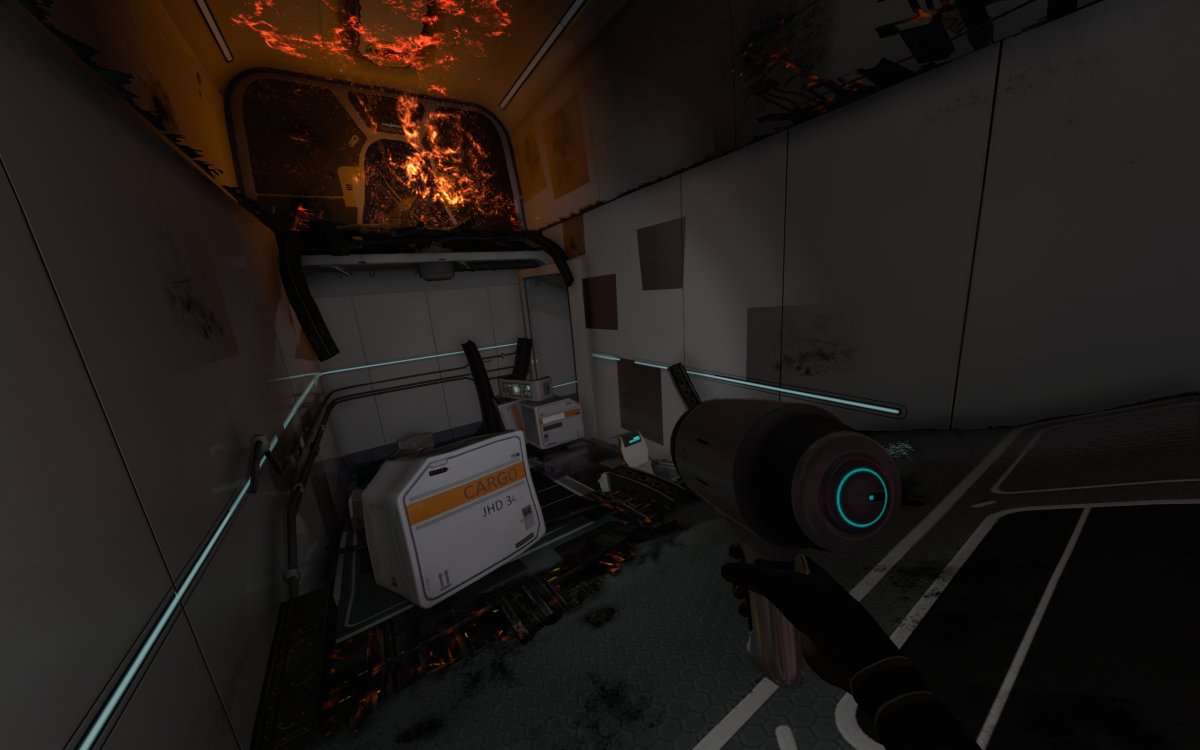
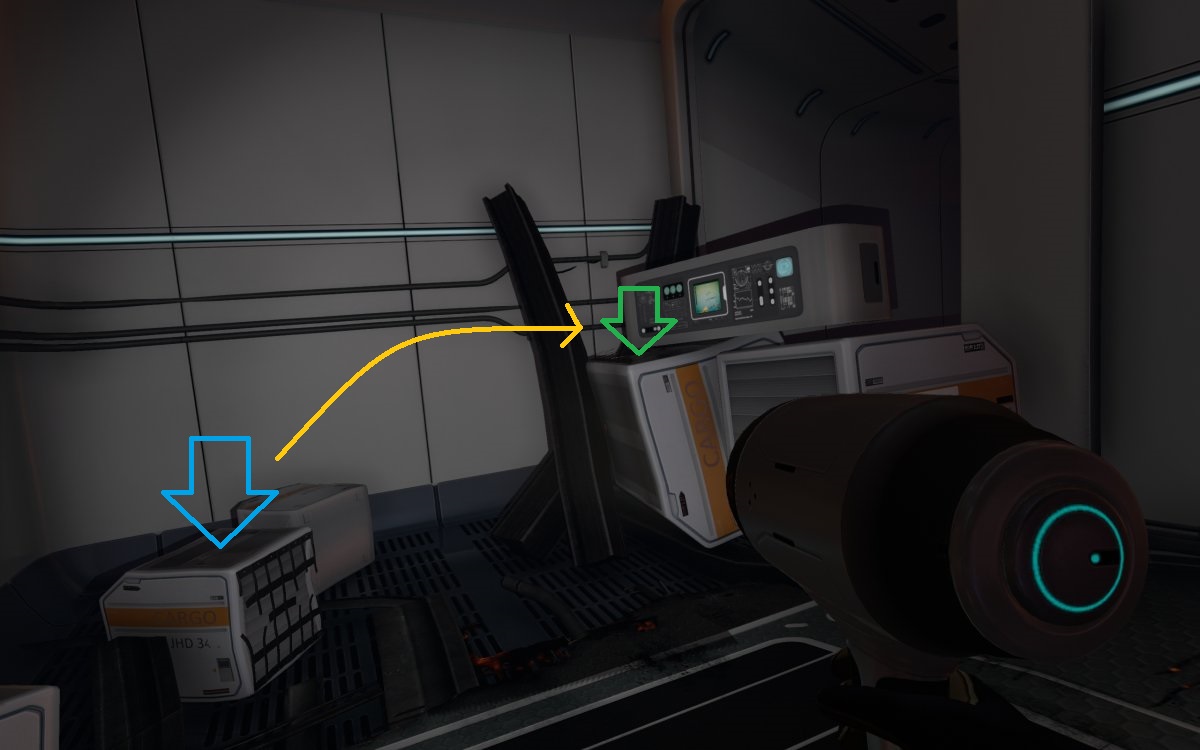
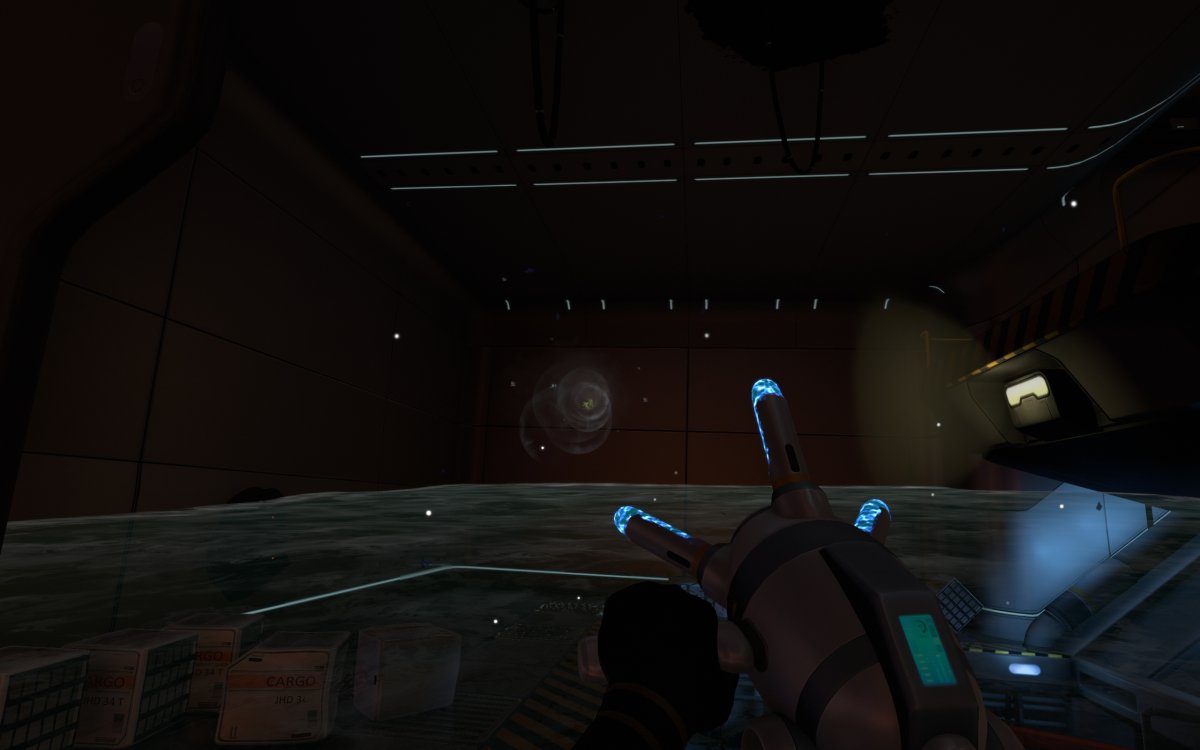
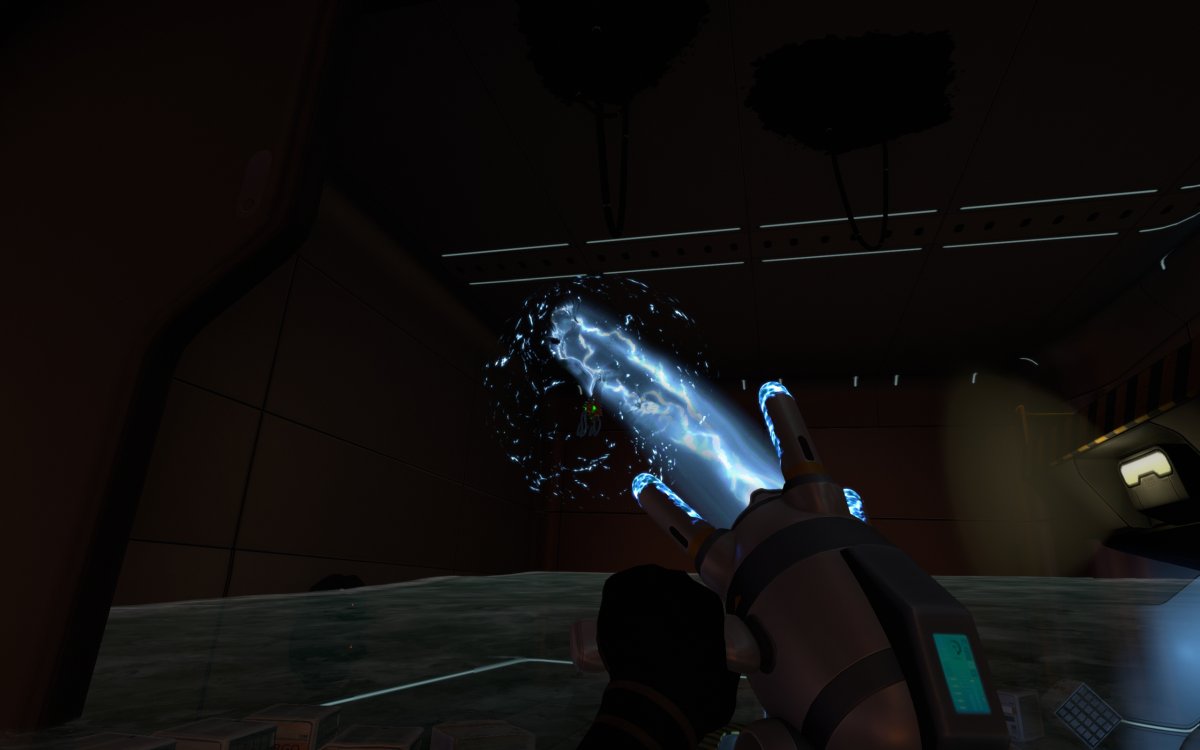
The way is blocked by this pile of crates and debris. If you don’t have the Propulsion Cannon, you can do a running jump from the smaller crate on the left and land on top of the larger crate on the right.
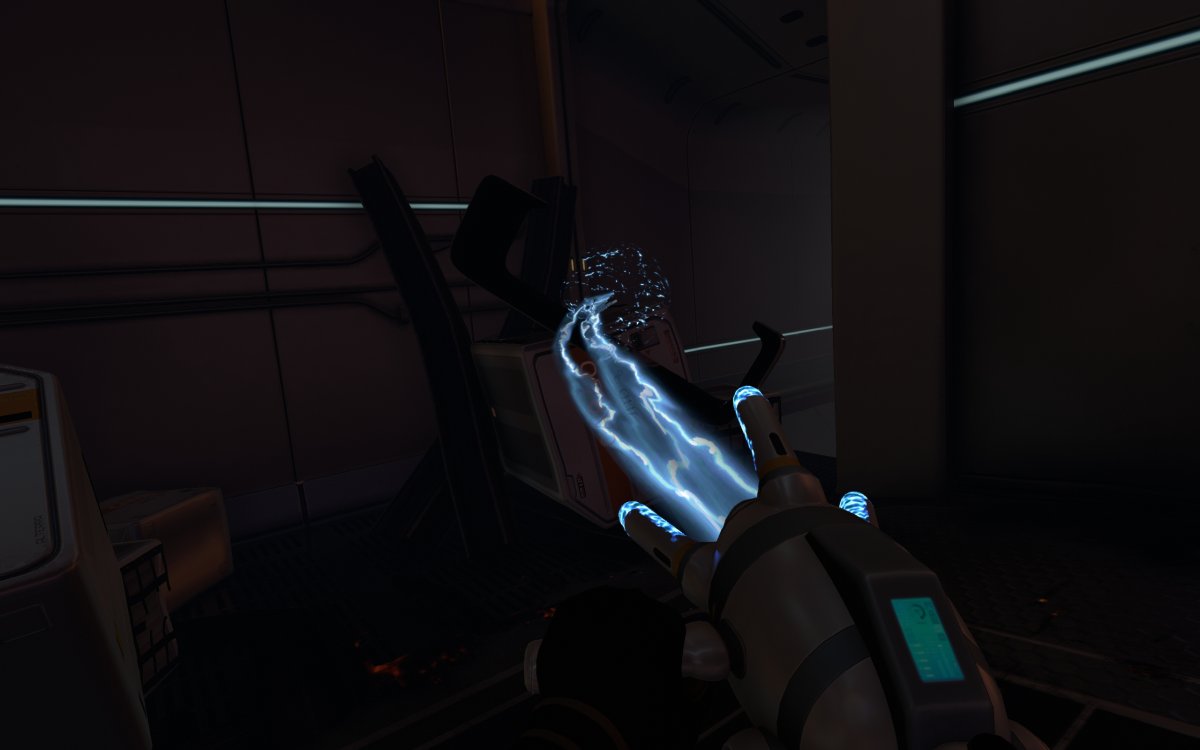
Otherwise just use the Propulsion Cannon to move the crates out of the way.
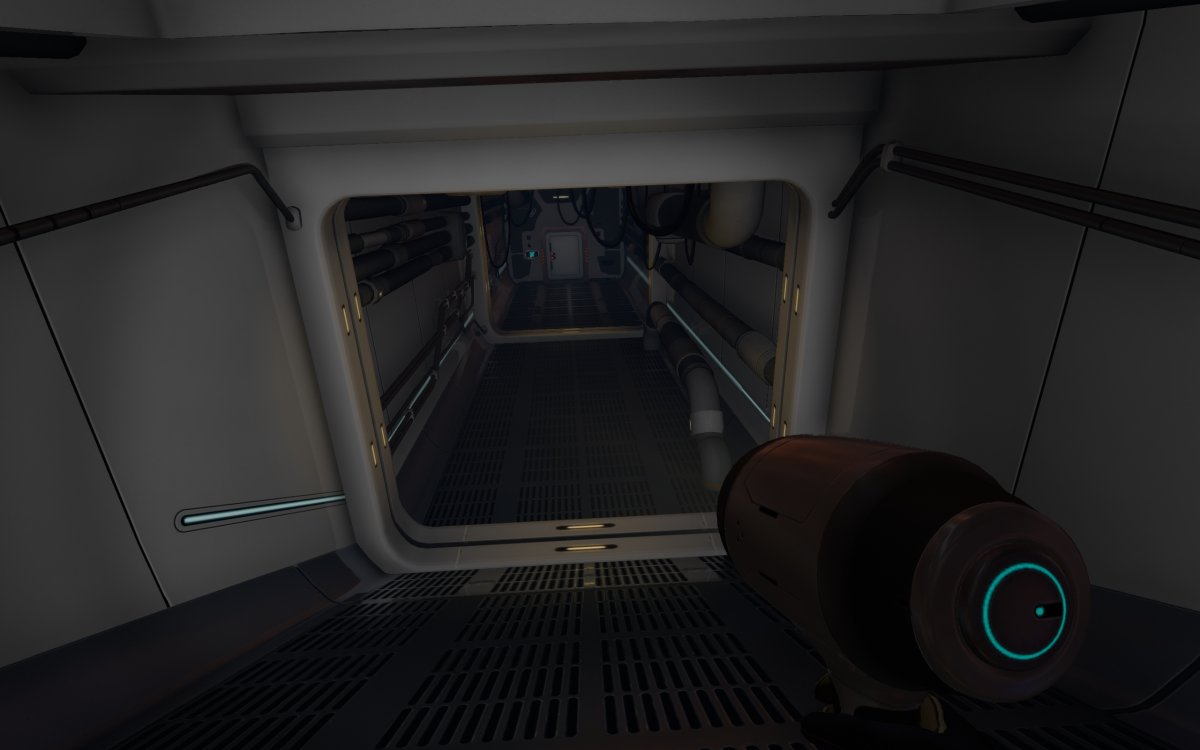
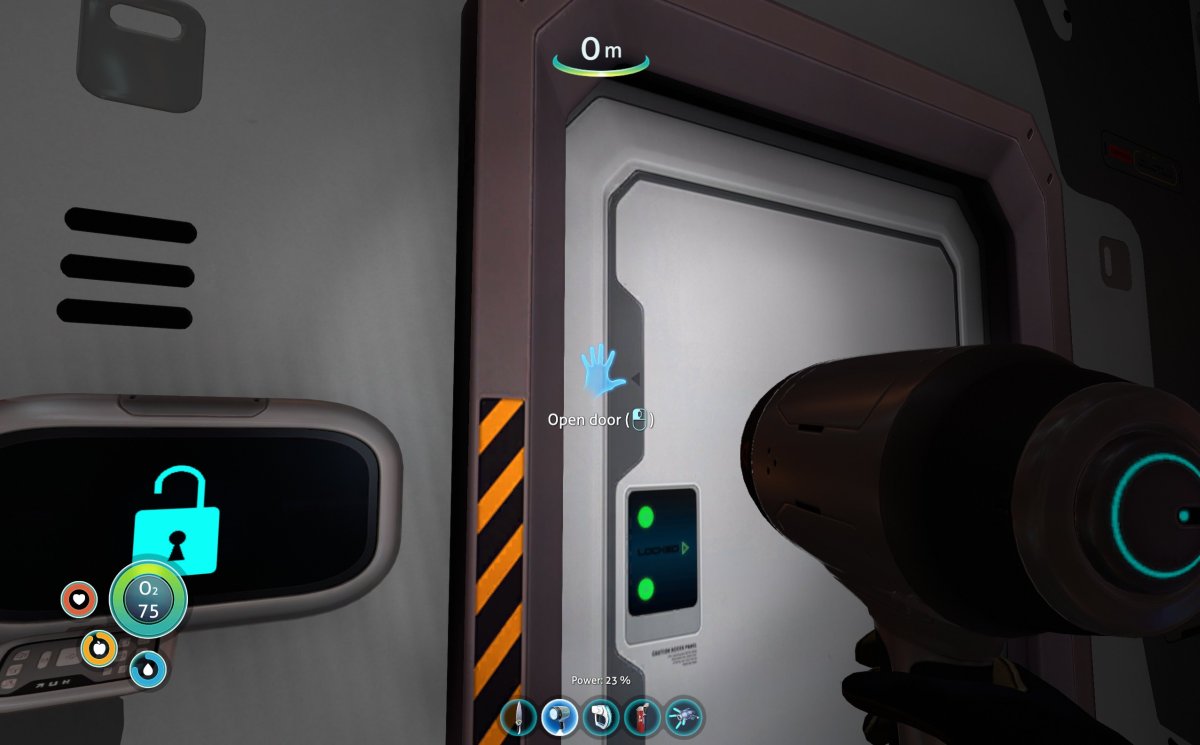
At the end of this hall is a locked door that opens into the Cargo Bay.
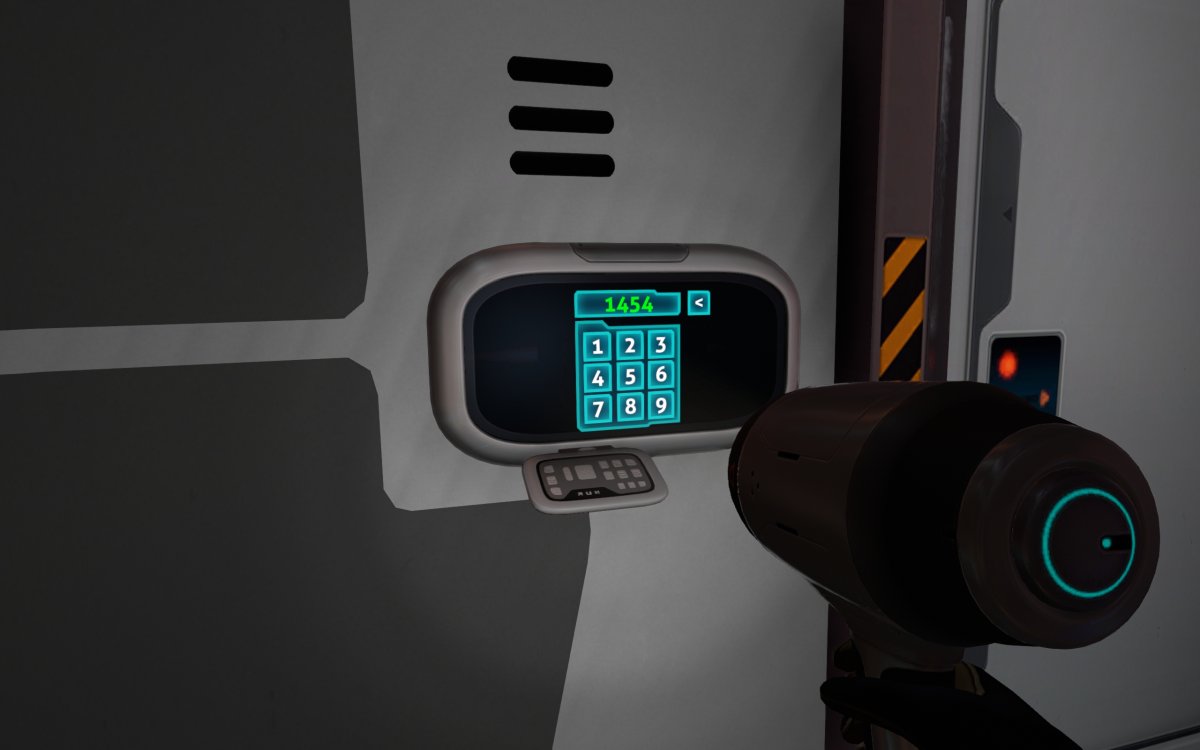
The Cargo Bay code from the PDA that we found in Administration will unlock it.
Inside the Cargo Bay
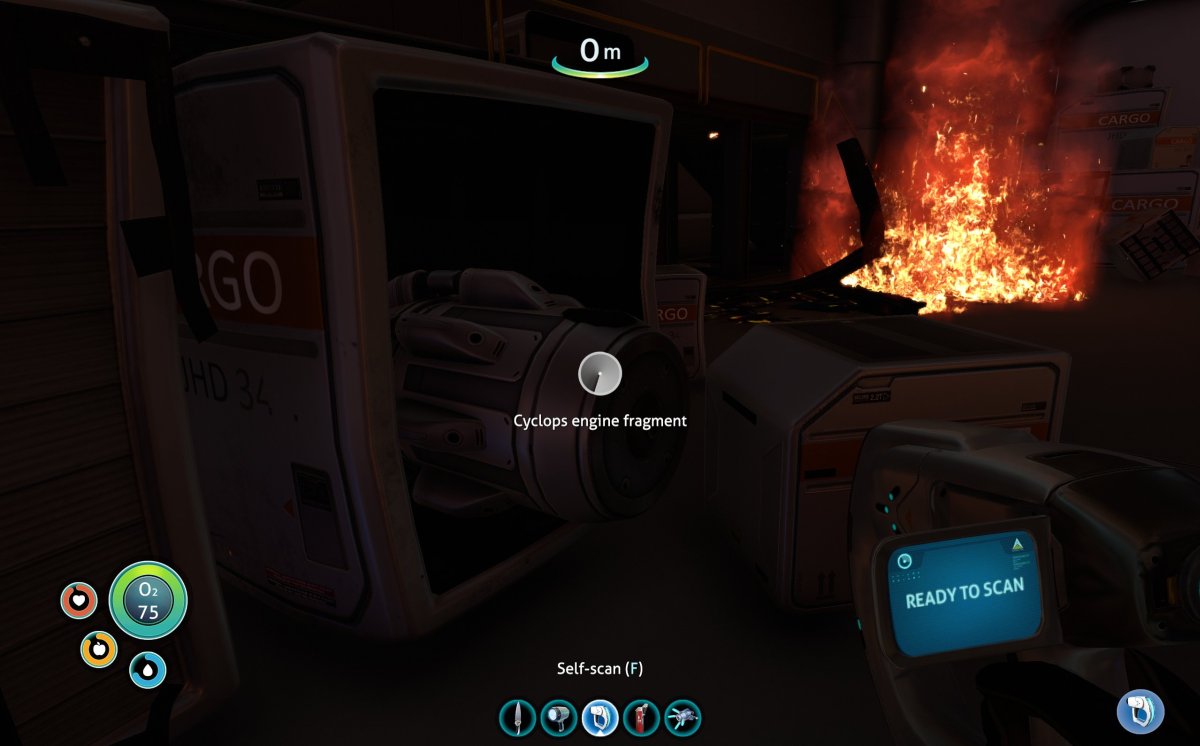
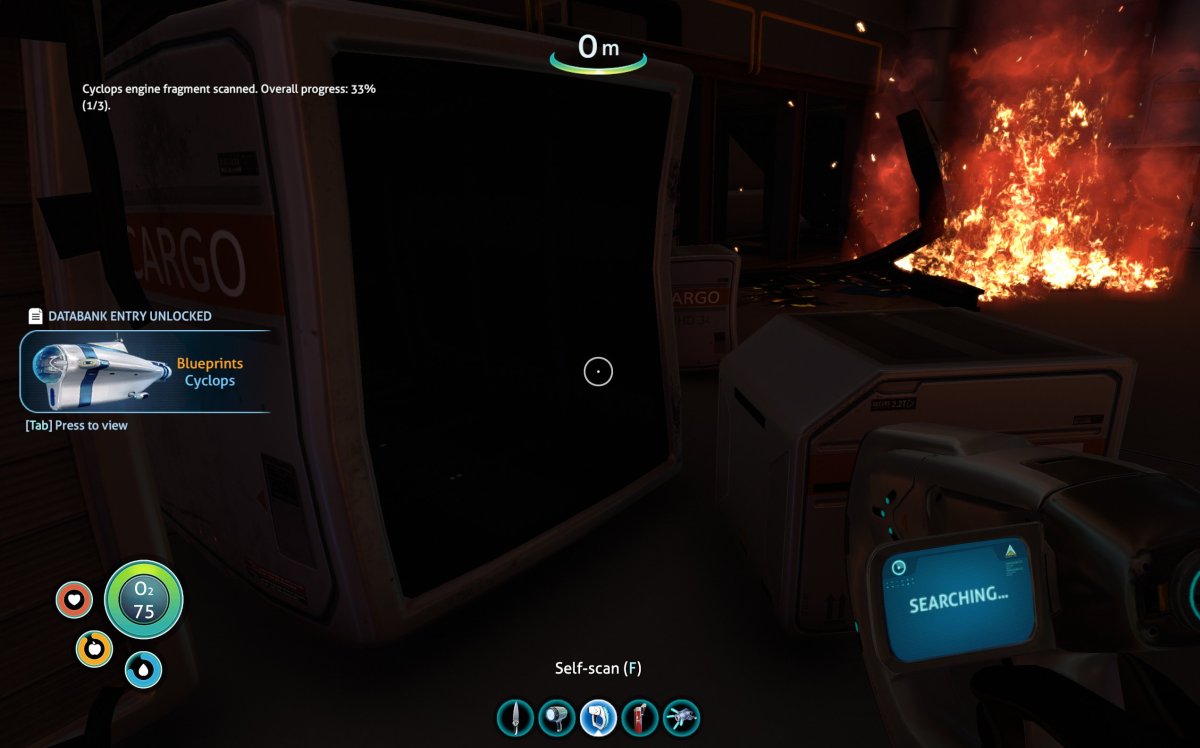
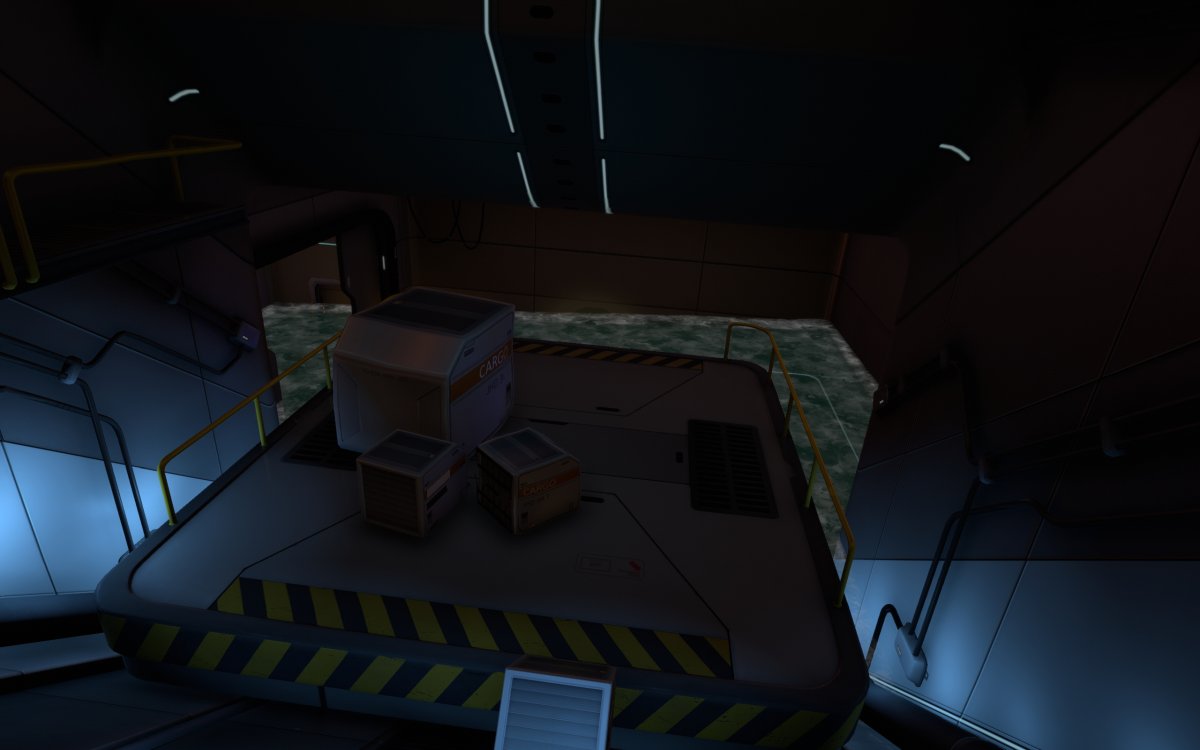
The Cargo Bay holds the first of 3 fragments for the Cyclops’ engine.
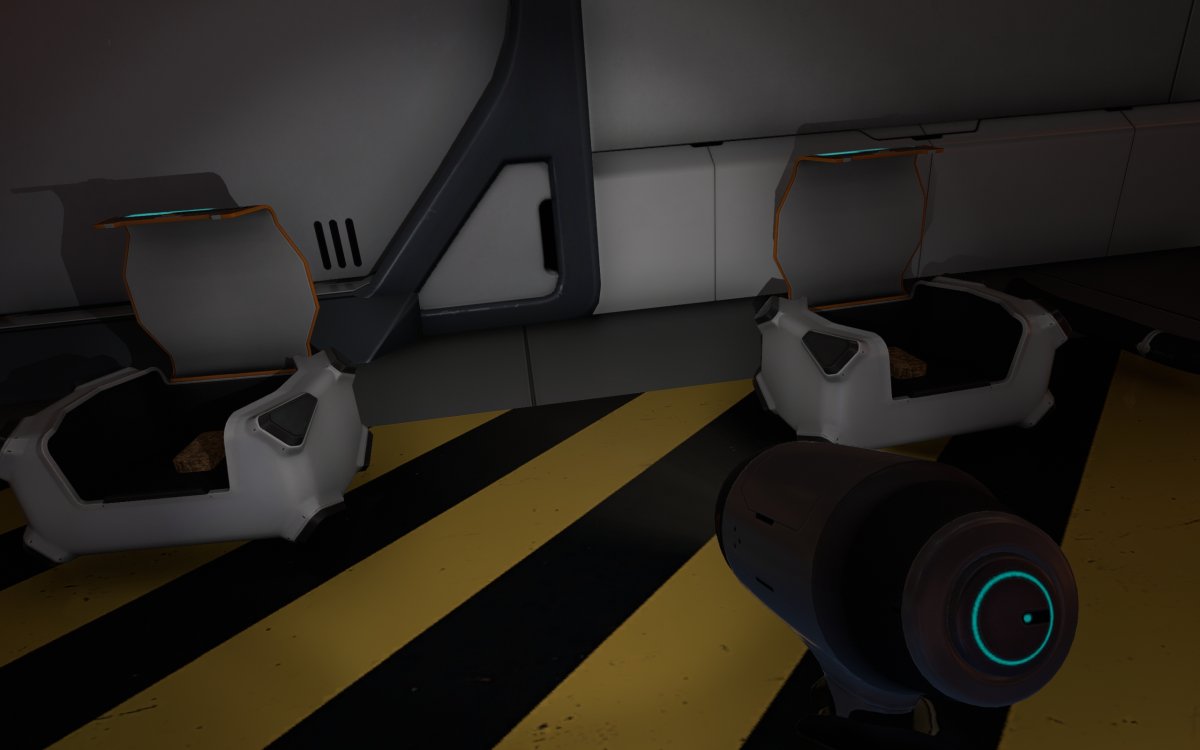
Next to the freight elevator ramp are a couple of item crates containing Nutrient Blocks.
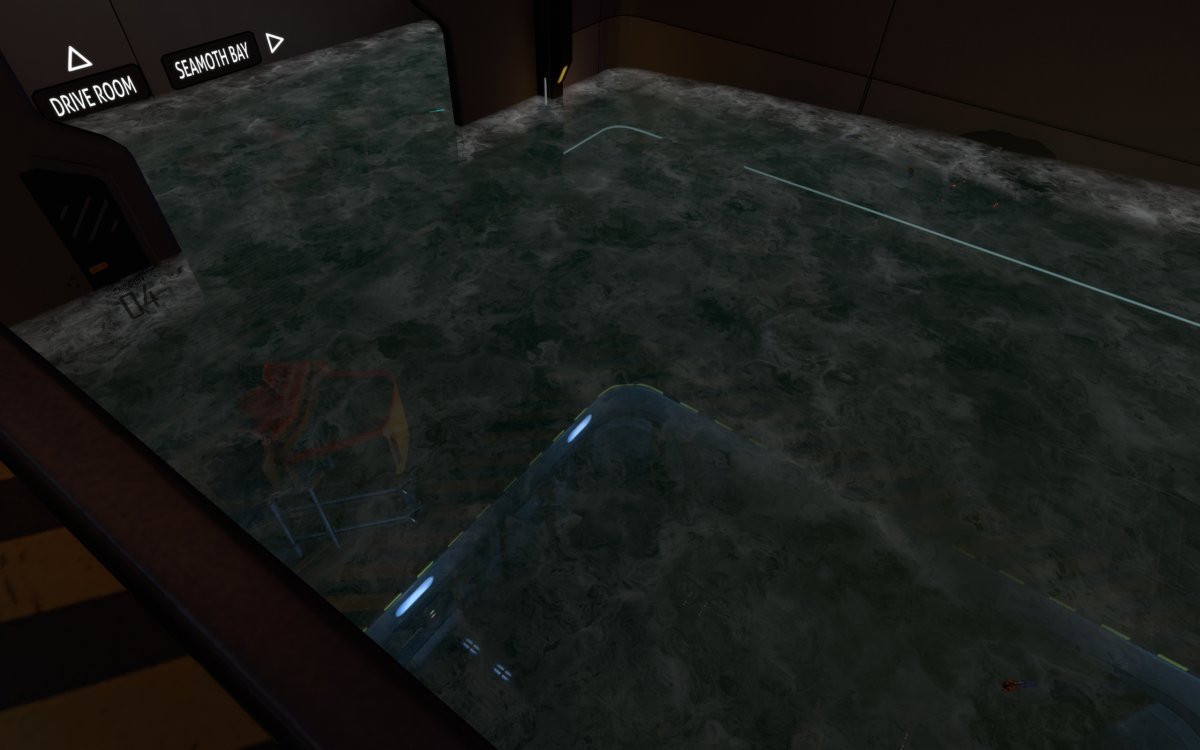
Follow the ramp down, past the elevator platform and jump into the water.
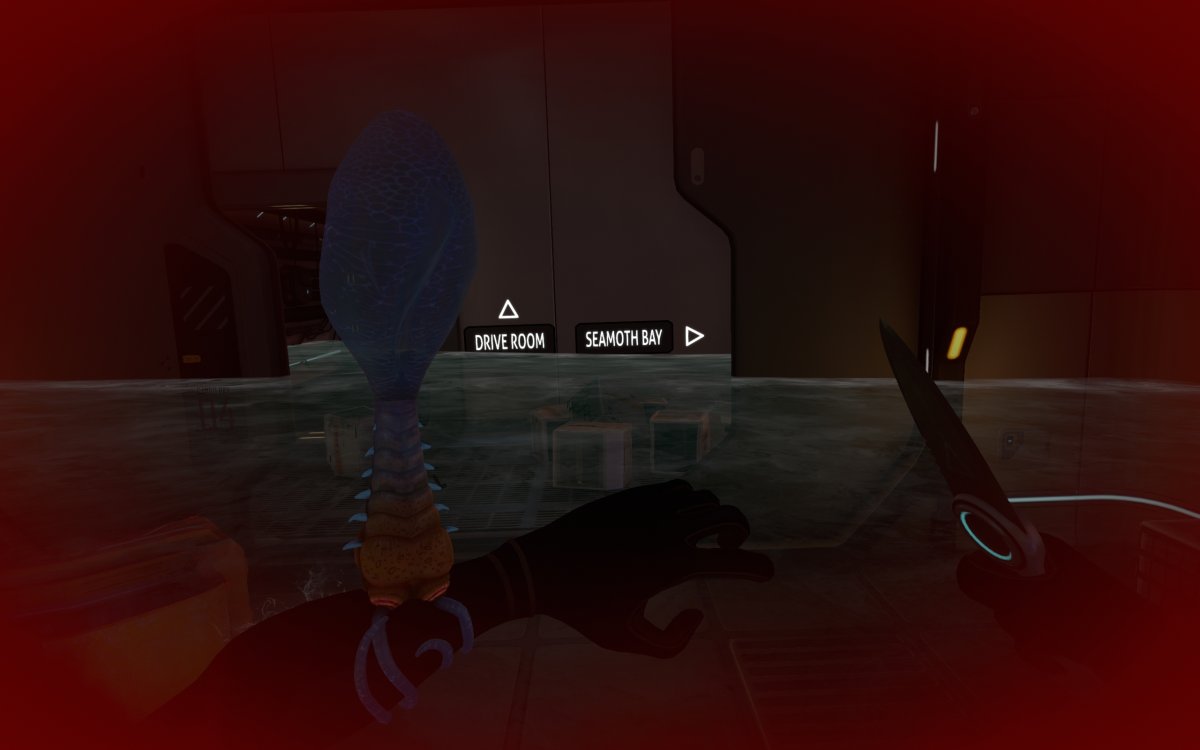
A couple of Bleeders are waiting in the water. They can be killed using the survival knife. If one attaches to your arm, you can remove it with the Survival Knife.
An easier way to kill them is by picking them up and launching them at a wall using the Propulsion Cannon.