With the exception of the player’s own lifepod, Lifepod 4 is the highest up on the map, and the only other lifepod that didn’t sink after impact. It’s also the first in a series of lifepods whose location must be determined from clues involving cardinal directions, so it will be helpful to acquire the Compass before looking for them.
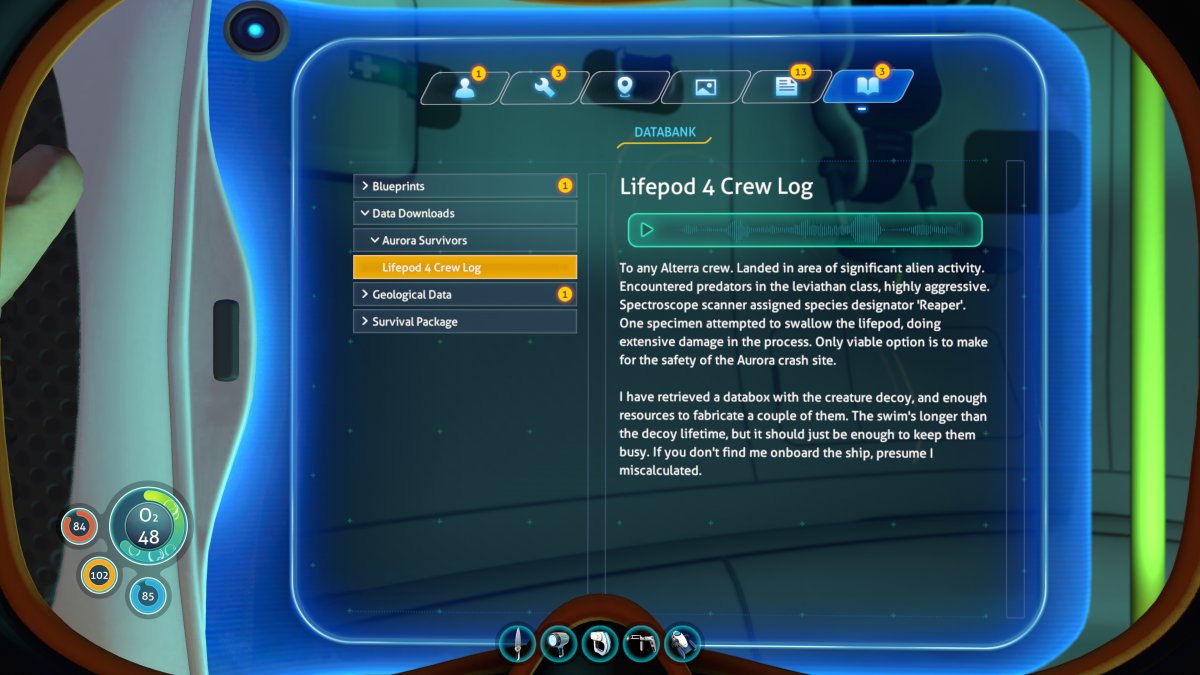
No coordinates are provided for Lifepod 4, but the Databank offers some hints about its location and orientation.
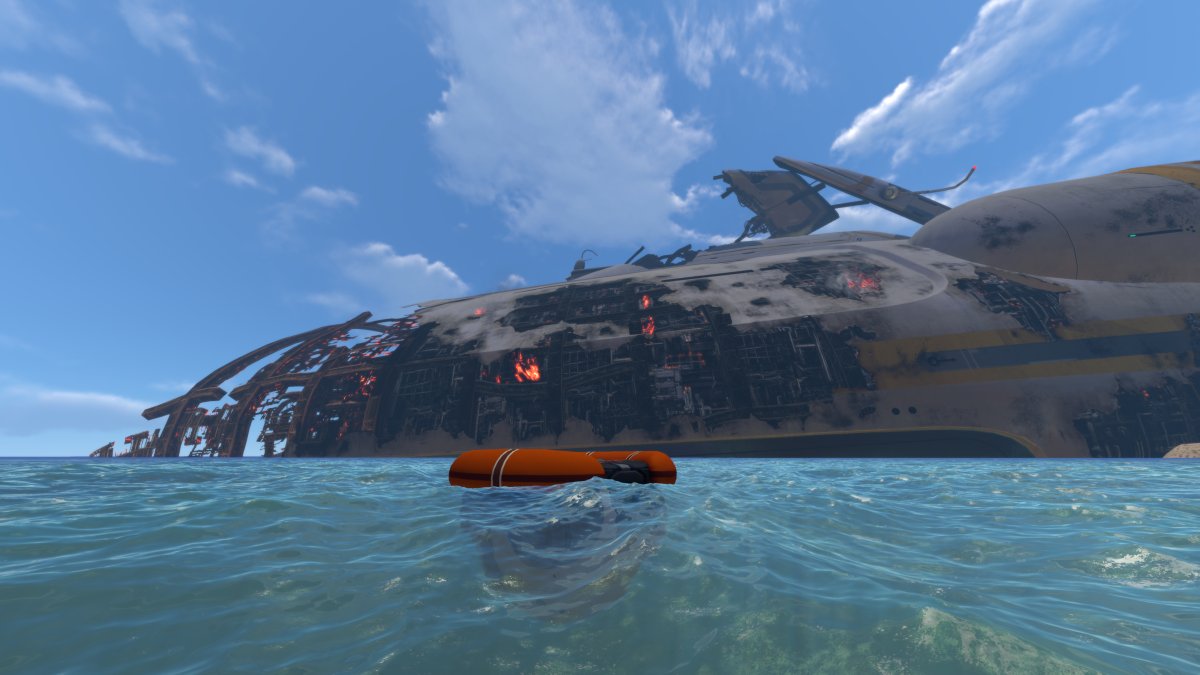
By searching around alongside the wreck of the Aurora, the lifepod can be located.
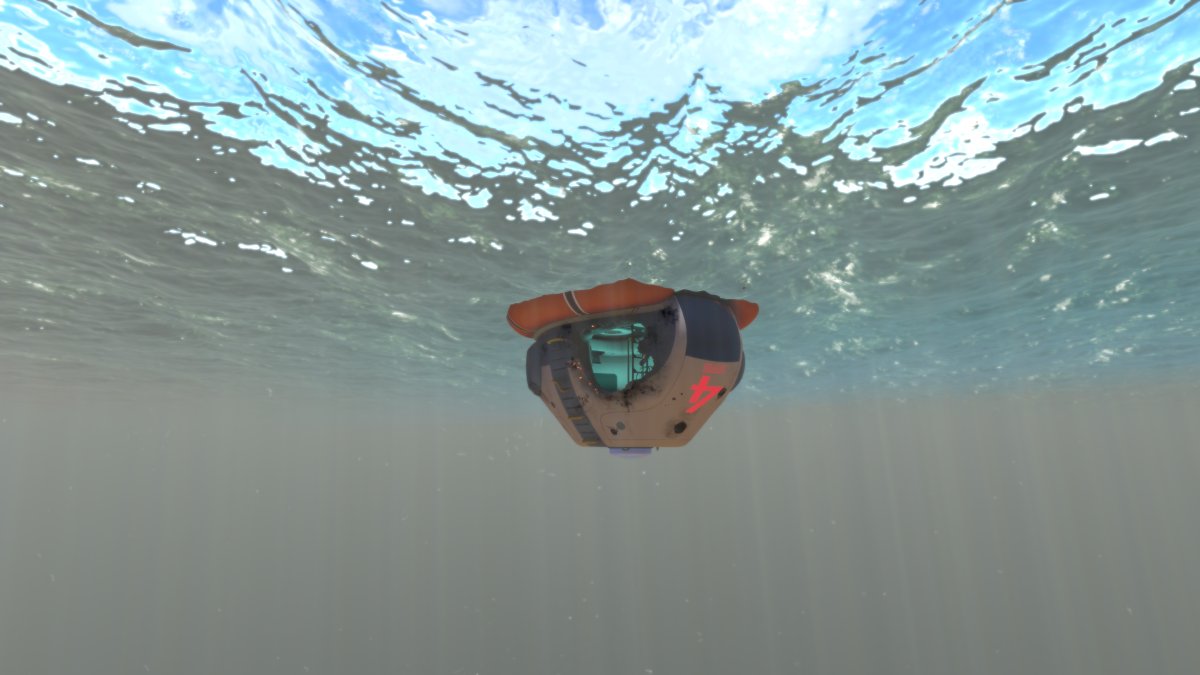
Though floating at the surface, this lifepod is overturned and has a large hole ripped open along the side.
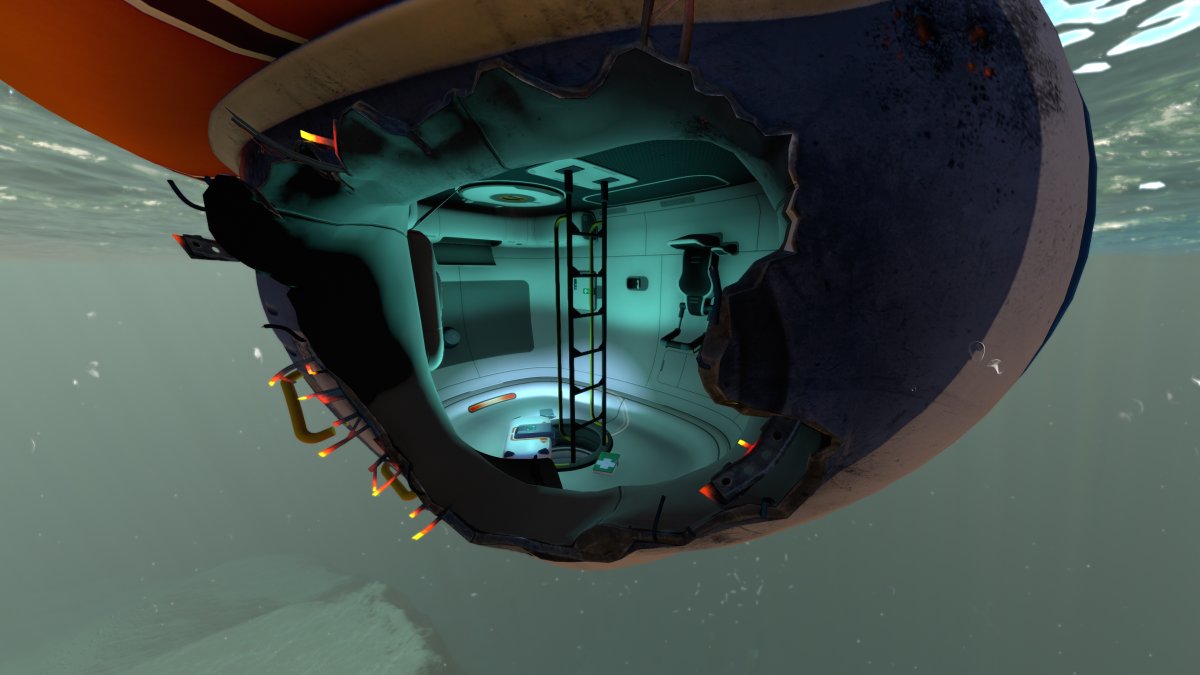
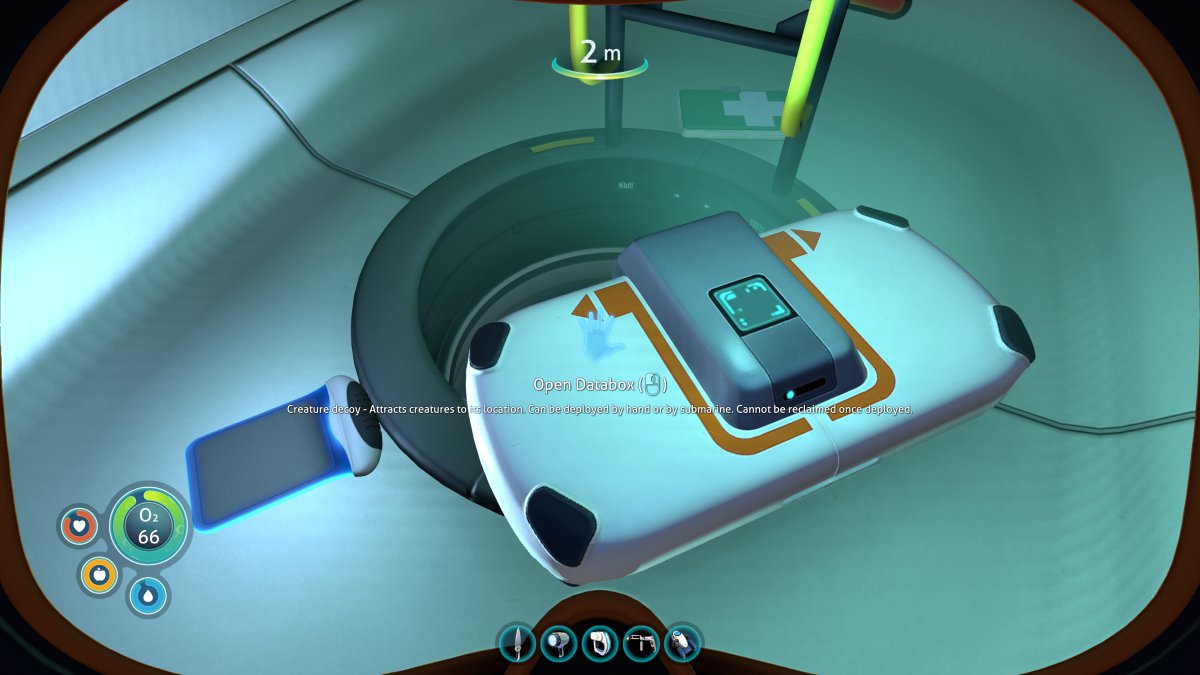
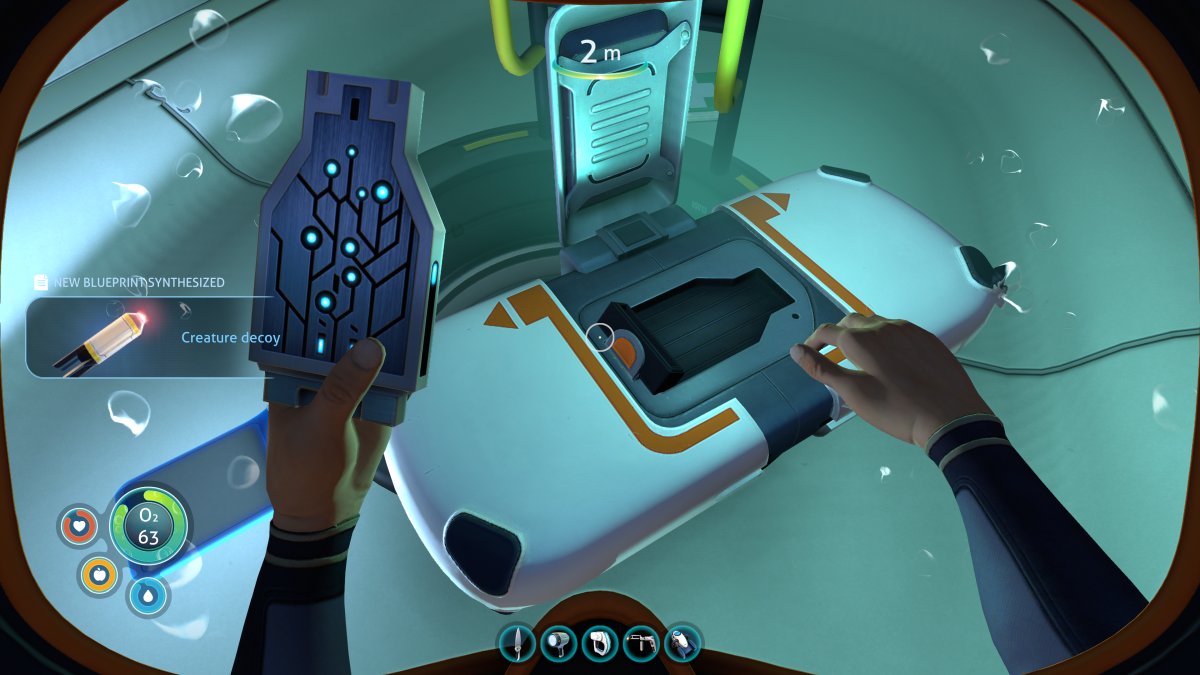
Inside the lifepod is a Databox containing the blueprint for the Creature Decoy.
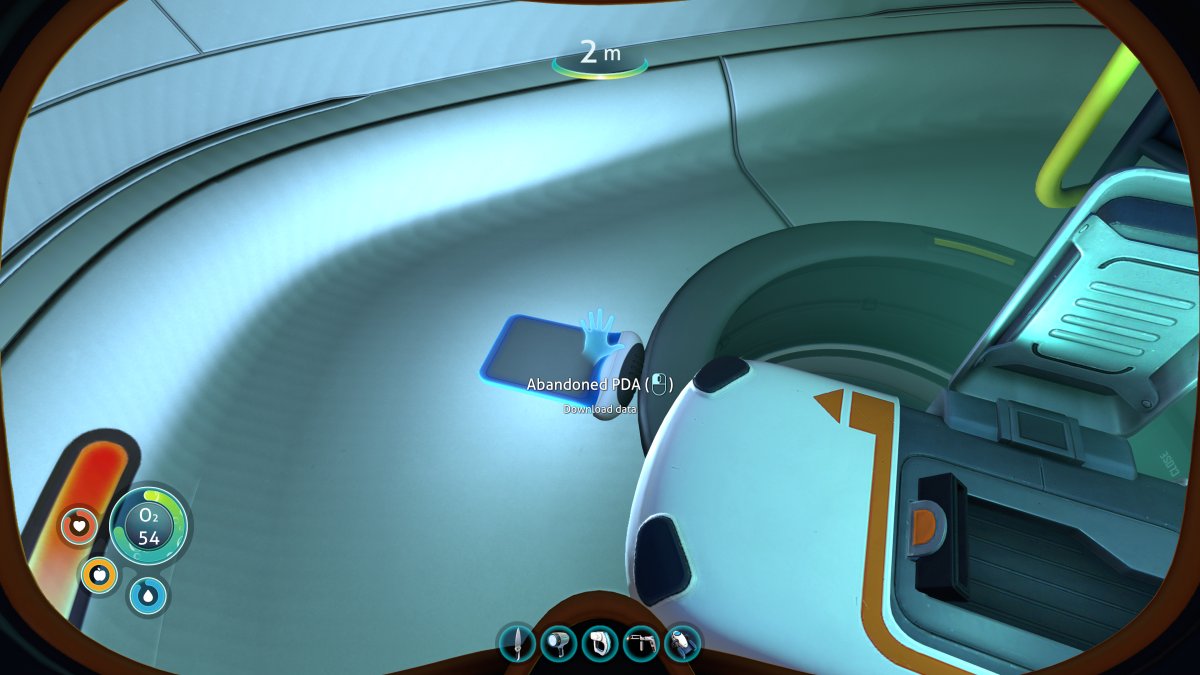
The Lifepod 4 Crew Log from the Abandoned PDA in this lifepod fills in the story of what happened to the lifepod and why the Creature Decoy blueprint is there.